- MIG
- TIG
- MMA
Weld Porosity: What Is It, What Causes It & How to Prevent It
By Sarah Mazlin
01/09/2025
8 minutes
Porosity is one of the most common defects that can occur in a weld. Whether you’re brand new to welding or a seasoned professional, there’s a good chance you have or will experience porosity in a weld.
We’ve covered what it is, what causes it and how you can prevent or fix it. Or check out a quick 30-second explainer that covers the basics.
What Is Porosity?
Porosity is a weld defect that occurs when atmospheric gases are absorbed into the weld pool while it’s still molten. These gases become trapped as the metal solidifies, which causes holes, pores, and small cavities to form in or on the weld.
Types of Porosity
There are four types of welding porosity that can occur in a weld:
- Surface porosity
- Distributed porosity
- Wormholes
- Crater pipes
Surface Porosity
Surface porosity, also known as surface breaking pores, is the easiest form of porosity to identify, as the holes are visible across the surface of the weld bead. Surface porosity is the type of porosity that is often referred to as the ‘swiss cheese’ look because of the scattering of holes.

Distributed Porosity
Distributed porosity, also known as subsurface porosity, is similar to surface porosity except that it occurs as fine pores inside the weld bead. It’s not visible to the eye, so to identify distributed porosity, you’ll need to x-ray the weld to detect it.

Wormholes
Wormholes, also known as herringbone porosity, are elongated pores that look like a worm has crawled through the weld or like a herringbone in an X-ray.

Crater Pipes
Crater pipes, also known as cratering, are different from other types of porosity and occur as a small crater, divot, or pinhole at the end of the weld. Crater pipes form during the shrinkage of the molten metal while it solidifies.

What Causes Porosity to Form?
Porosity can occur regardless of the type of welding you’re doing, and the cause of it will depend on each situation, but some of the most common causes of porosity include:
- Problems with the shielding gas
- Poor base or filler metal preparation
- Incorrect welding technique
- Machine or maintenance problems
Problems With the Shielding Gas
Several things can go wrong with the shielding gas, leaving you with porosity in the weld.
Using the wrong shielding gas or not using enough shielding gas won’t provide you with proper protection of the weld. At best, you’ll have an oxidised weld; at worst, gases like oxygen, nitrogen or hydrogen will get trapped in the weld and form porosity.
Using too much shielding gas can also cause problems. The higher your gas flow, the more turbulence you create, which can pull outside air into your gas coverage, letting the atmospheric gases into your weld, forming porosity.
If you’re working in an area that’s drafty or open to the wind, your shielding gas can be blown away entirely, leaving your weld unprotected.
Your gas cylinder itself may have been contaminated. If your gas is contaminated with impurities, those impurities are sprayed straight into your weld, and you can be left with porosity.
Poor Base or Filler Metal Preparation
Contaminants on your base metal, like grease, oil, rust, paint, glue, dirt, grime, mill scale, and coatings like zinc, can all cause porosity. If left on the metal and welded over, these contaminants will turn into gases and fumes as they’re welded over that become trapped in the weld. If your filler metal has any of these contaminants on it, that can cause the same problems.
Moisture on your workpiece, filler metal or in the flux coatings of electrodes will also burn up during a weld and cause porosity.
Poor joint fit-up and preparation, or even an open root pass that’s quite wide, can suck air in from the back side of the weld.
Using anti-spatter or nozzle dip products excessively can also cause porosity. Too much anti-spatter spray can leave a coating on the workpiece, while too much nozzle dip can drip into the weld.
Incorrect Welding Techniques
Welding the wrong way can also be a cause of porosity.
Holding your MIG or TIG torch at too much of an angle or too far away from the plate can result in the gas not completely covering the weld pool and leaving it exposed.

If you’re welding too fast, the shielding gas can be moved on from the weld pool before it’s cooled enough, exposing it to the atmosphere before it’s solidified.
Pulling your TIG torch away from the end of a weld too quickly will usually result in a crater at the end of the weld.
Machine or Maintenance Problems
The final set of problems that can cause porosity in your welds come from the machine and its parts.
A damaged gas line, or one with a leak in it, as well as worn-out O-rings, a broken gas solenoid, a cracked MIG liner, or just loose fittings, will all disrupt your gas flow and allow air into the weld.
MIG gas nozzles that are clogged and filled with spatter can also interrupt the gas flow and leave you with porosity.
How to Prevent Porosity
You can do several things to try and prevent porosity from occurring in your weld, including proper metal and filler preparation and checking your shielding gas and machine.
Check Your Shielding Gas
The most common cause of porosity and the first thing you should check to prevent it is your shielding gas.
Make sure your gas cylinder isn’t empty and that it’s not contaminated. Be sure that you’re using the correct gas mixture for any MIG weld and that you’re using pure argon gas for TIG welding.
Whether you’re MIG or TIG welding, we recommend using an 8-12L/min gas flow. Any more and you might start to experience turbulence, any less and there won’t be enough to properly shield your weld. If you need to use more than 12L/min, that can indicate that something else has gone wrong along the gas line.
If you’re TIG welding with a standard valve or high-frequency torch, you can look to swap your collet body for a gas lens. The diffuser and mesh screen in the gas lens means your gas is dispersed evenly across the weld pool in a laminar pattern, with less turbulence. The T2 TIG Torches come standard with a gas lens.

If you’re working outdoors or in a space that’s letting in the wind, set up some makeshift walls. A welding curtain or similar can help stop your shielding gas from being blown away. Where possible, close any open doors and turn off any fans that are being run. It’s a good idea to try and minimise any air movement while welding.
Prep Your Base & Filler Materials
A clean base plate is essential for every weld, especially if you don’t want porosity.
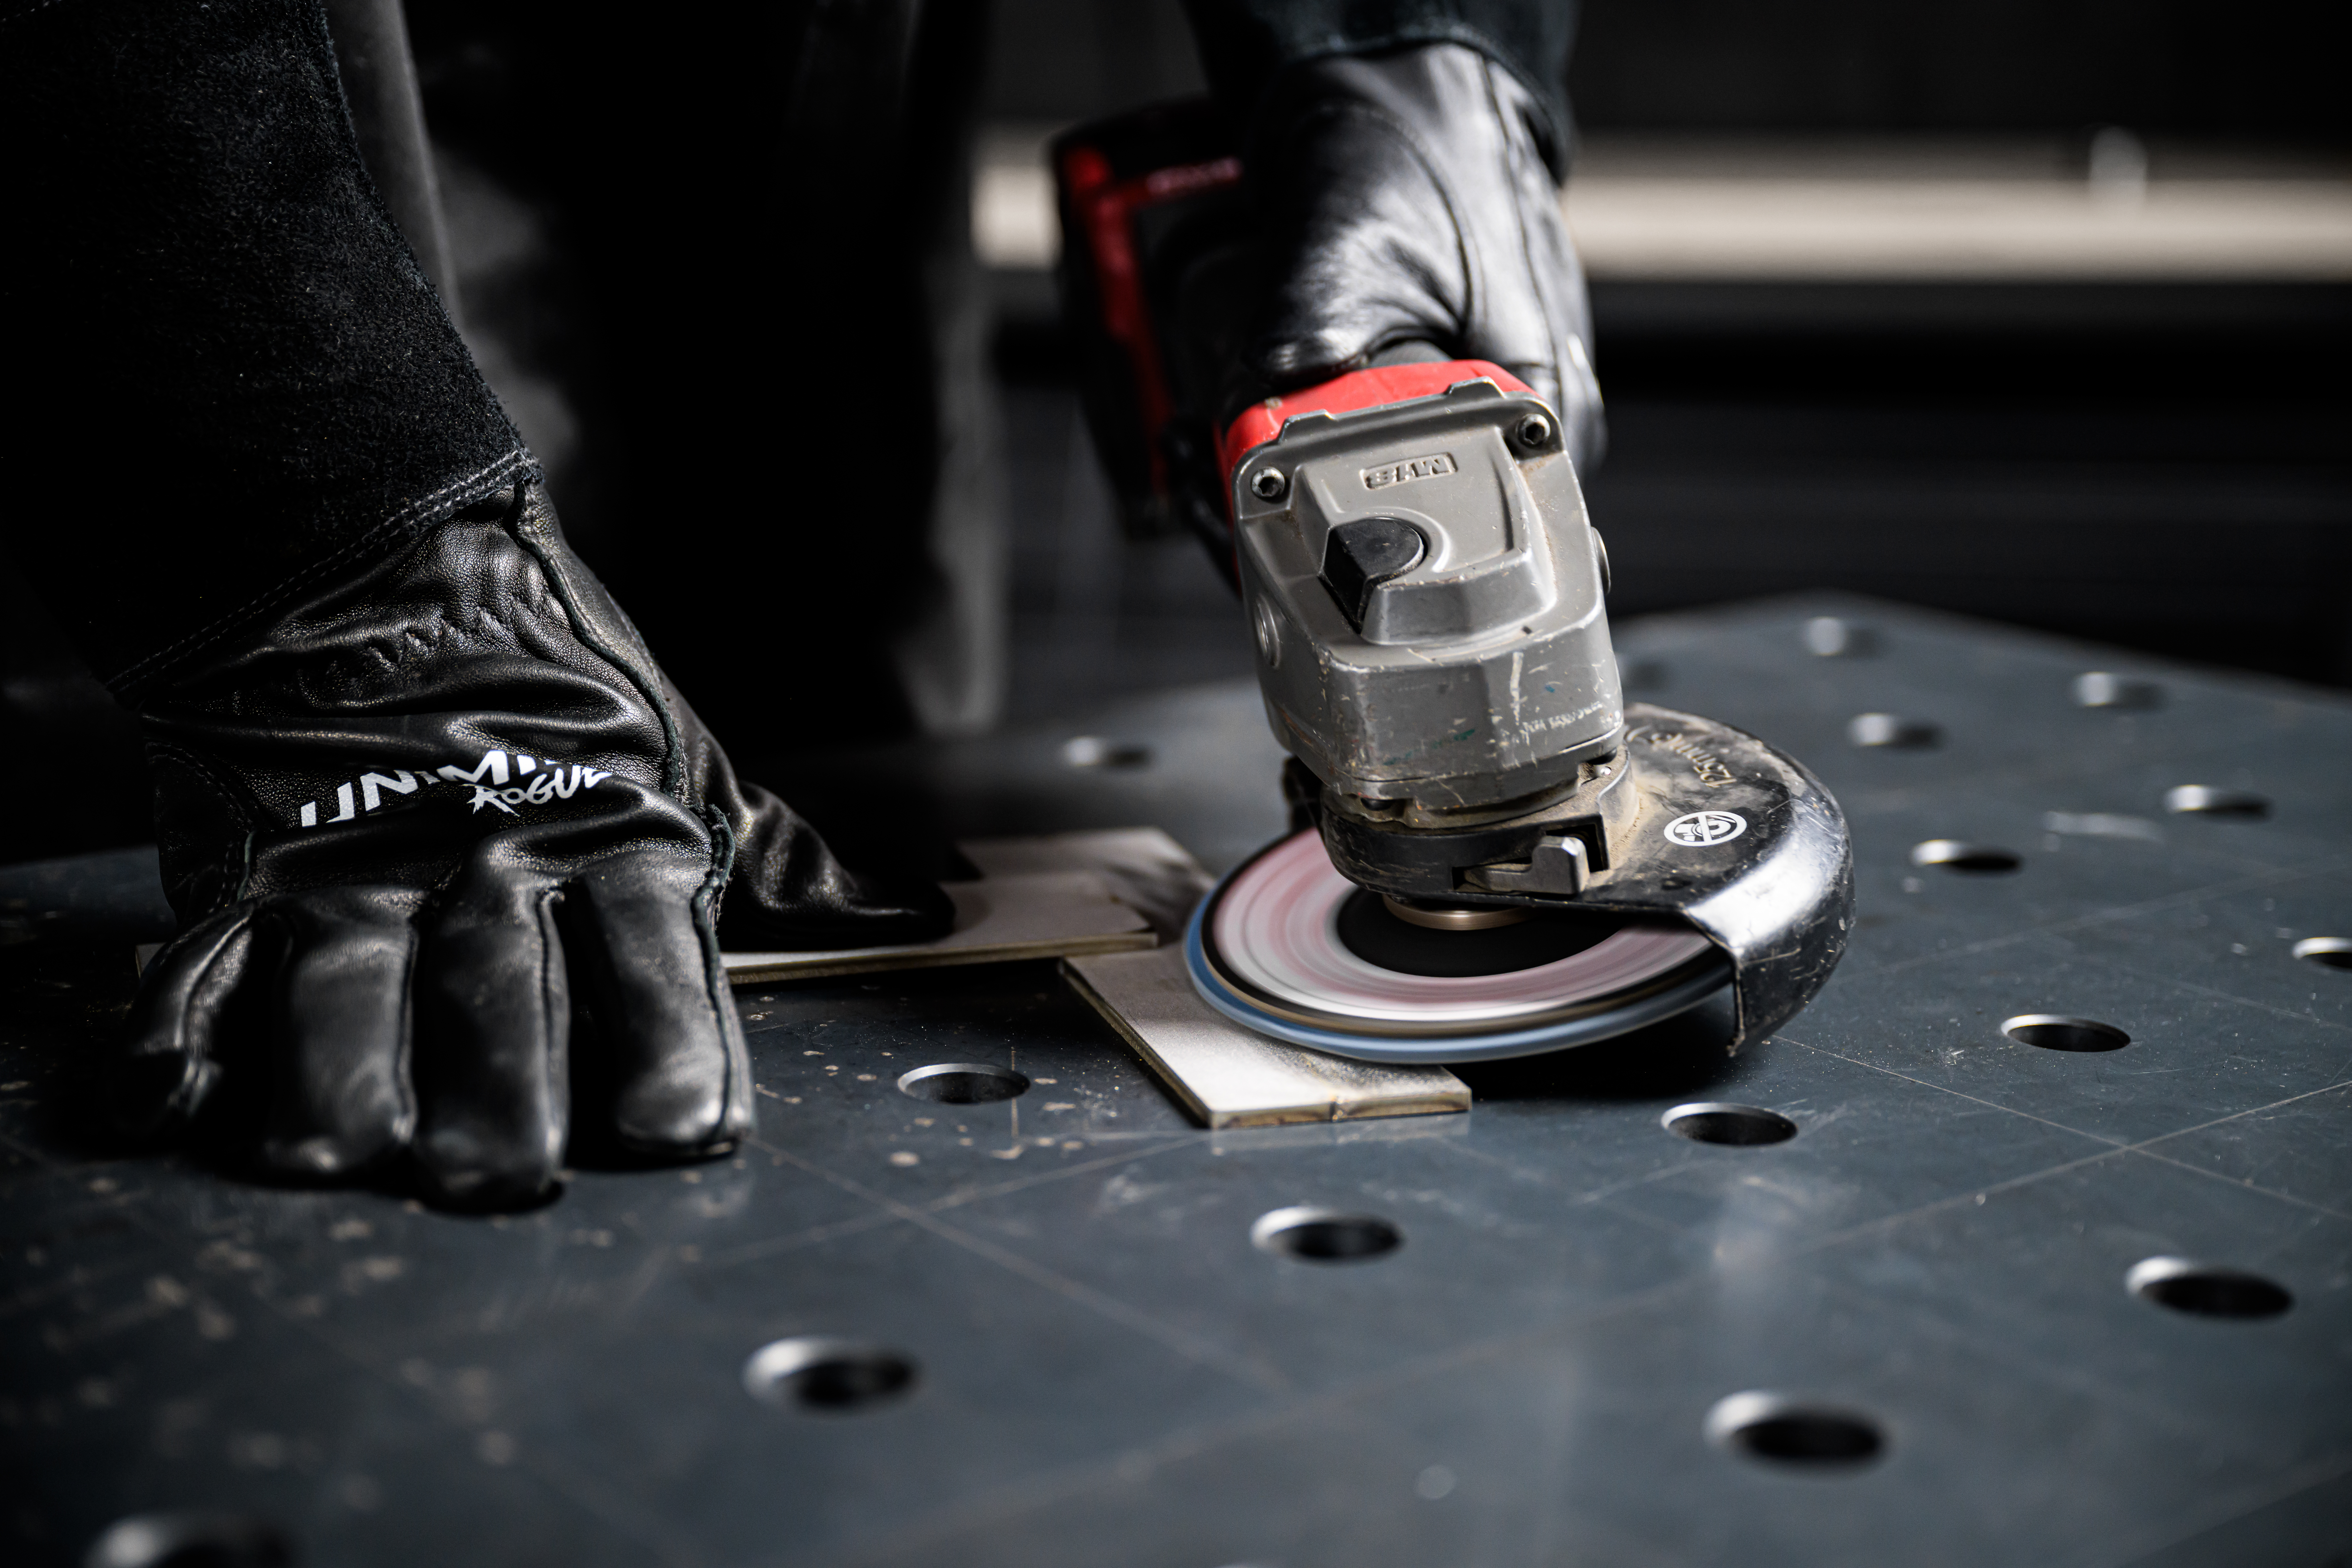
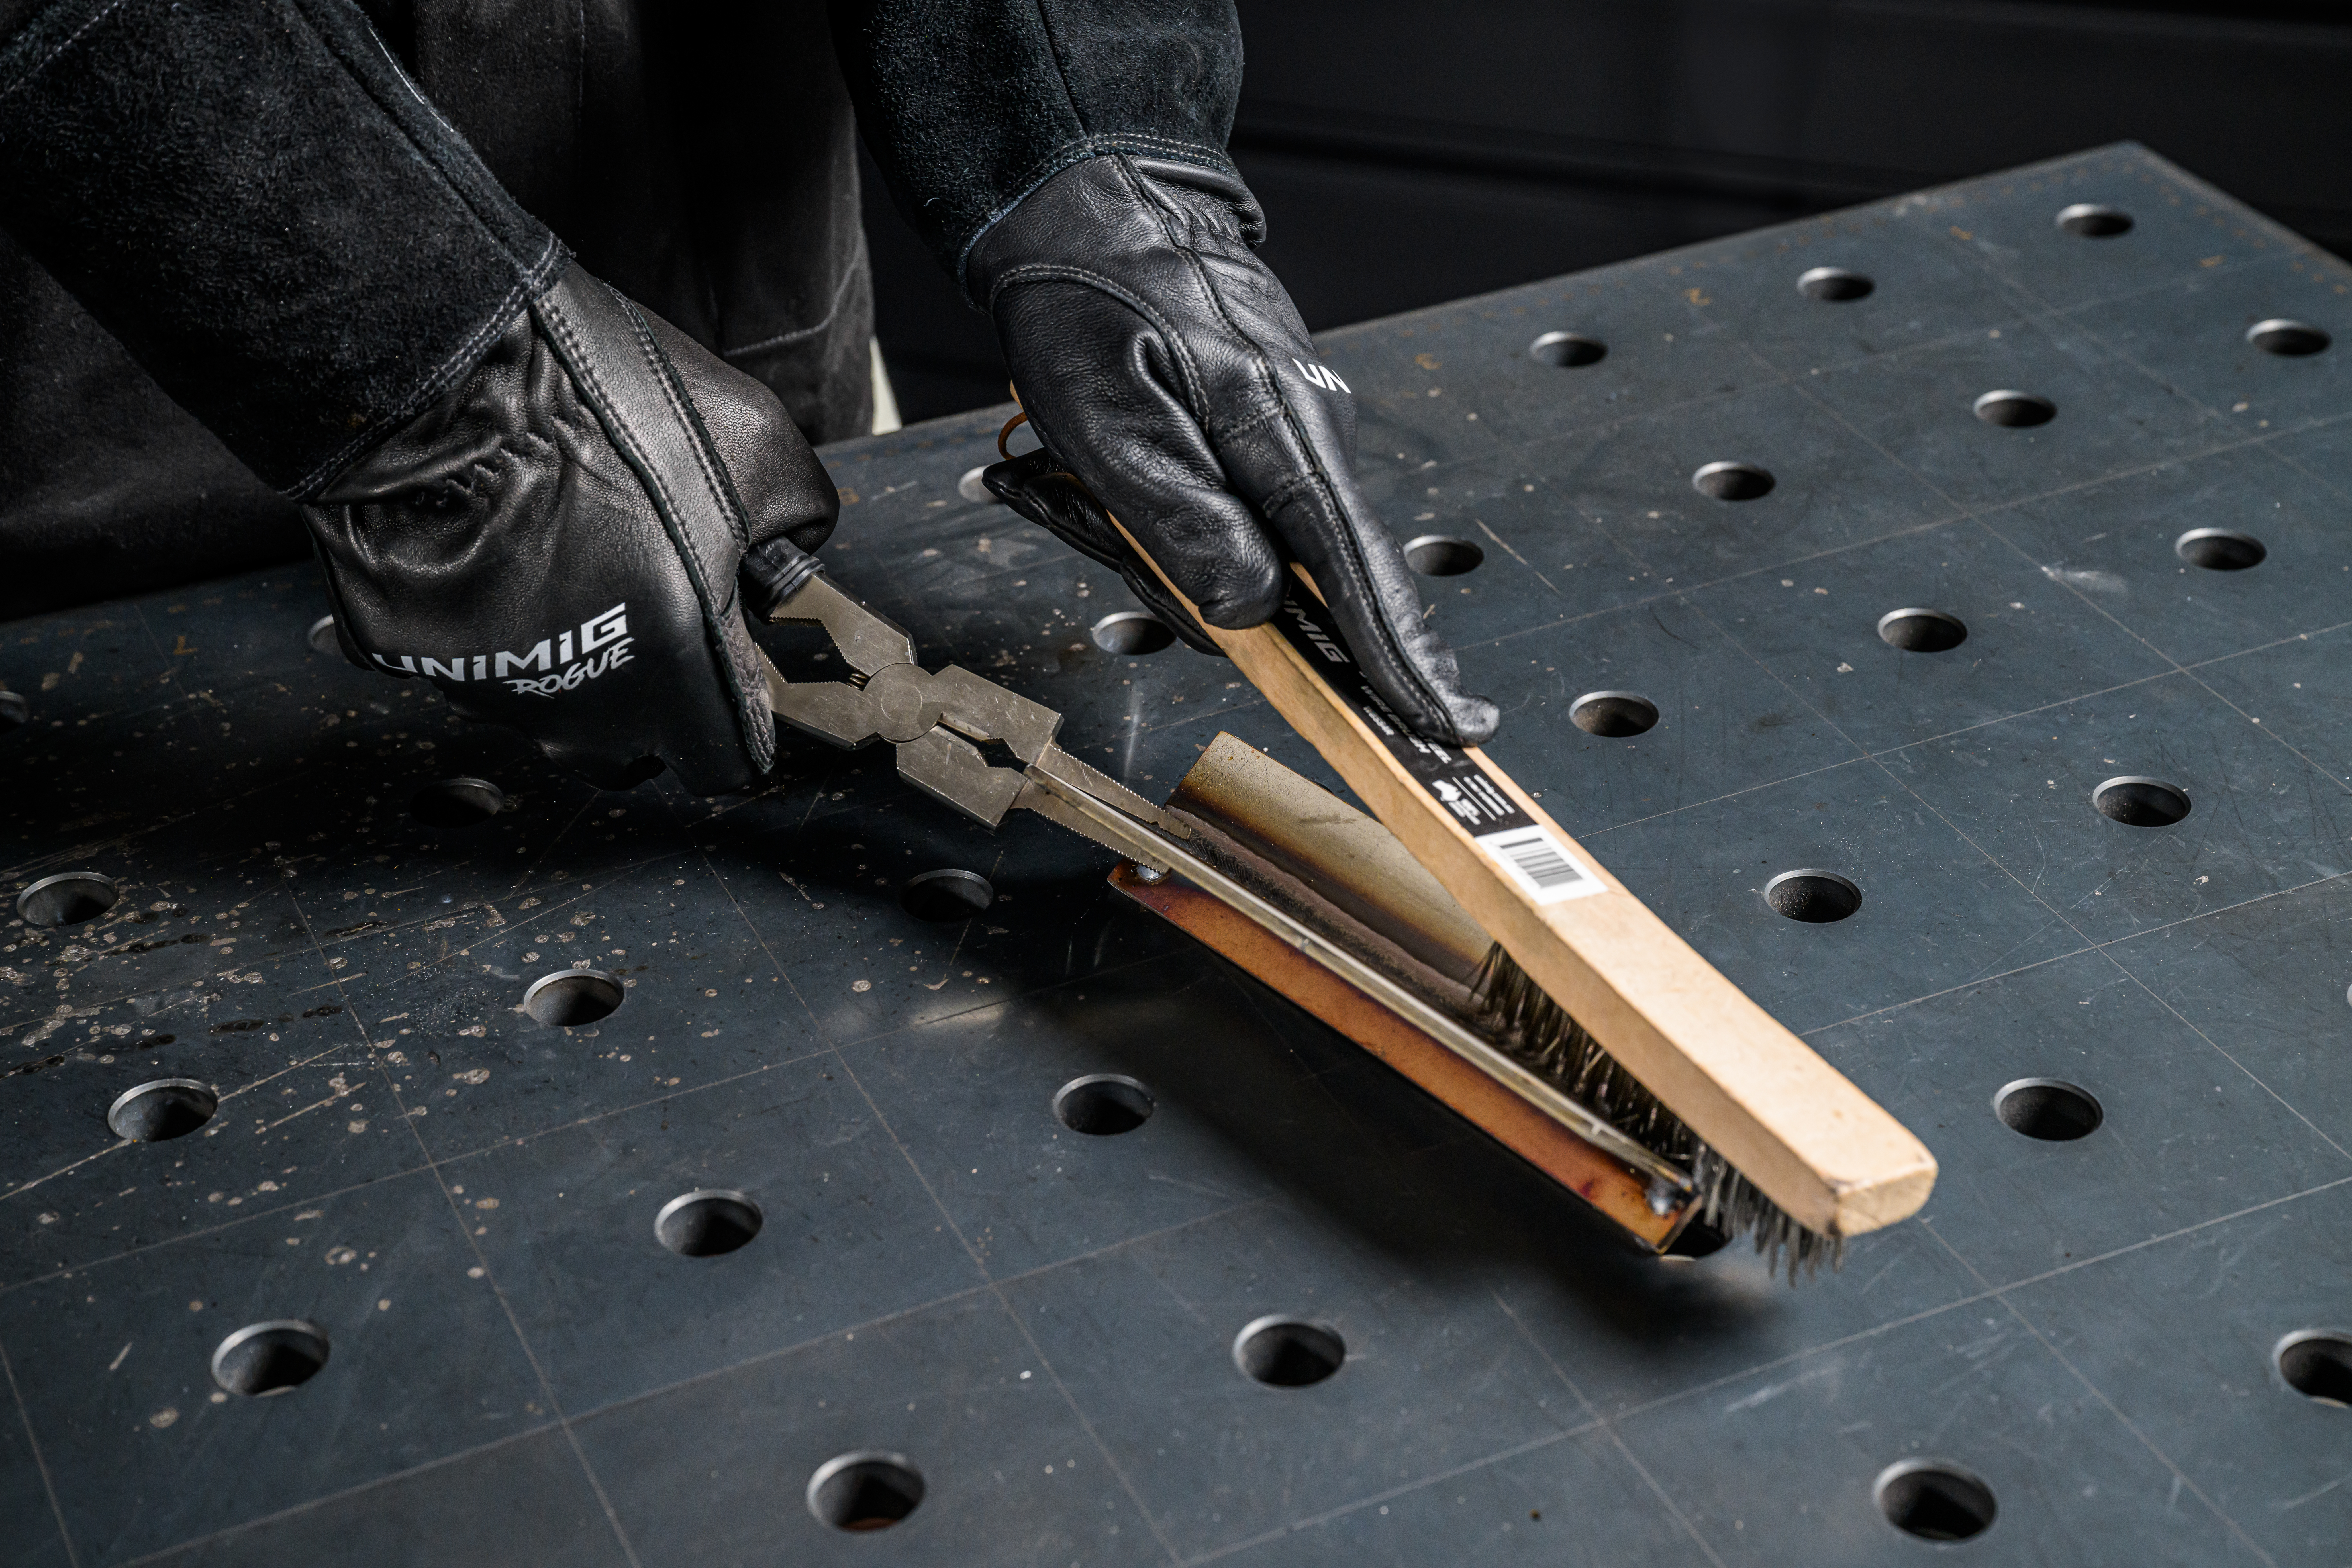
Clean your metal thoroughly, grinding off any rust, paint, or metal coatings and removing any grease, oil, glue, dirt, grime or mill scale. Use a stainless wire brush to remove the oxide layer on any aluminium you’re welding.
 |
 |
Once your metal has been completely wiped down with acetone or isopropyl alcohol, give your filler rods a wipe as well if you’re TIG welding. You’d be surprised by how dirty they can be, even from a new, freshly opened packet.
Check that there’s no moisture on your plates. If you’re using low-hydrogen stick electrodes that were left out or not stored correctly, it’s a good idea to bake them in an electrode oven. That way, you can be sure there’s no moisture in the flux that will cause porosity when you weld with them.
If you’re using any other kind of electrode that has absorbed moisture, they’ll need to be thrown away. Even if you tried to bake them, the flux still wouldn’t be any good.
Maintain Your Machine
To eliminate a lot of weld problems, including porosity, you should regularly maintenance your machine. That includes:
- Checking your MIG contact tip, gas diffuser and gas nozzle for wear, damage or excessive spatter and cleaning or replacing when necessary
- Checking your MIG liner isn’t worn or damaged
- Checking the fittings on your torch and welder
- Checking that the collet, collet body, gas lens, diffuser, and O-ring on your TIG torch aren’t worn or damaged
- Making sure that your gas line and gas solenoid aren’t damaged or worn
Making sure your machine, torch, and all the parts and fittings are in tip-top condition and that nothing is loose will give you the best results.
Use the Right Welding Technique
To get the most from your shielding gas, hold your MIG or TIG torch at a 45° angle to the plate, with a gap of roughly 3mm between your wire or tungsten and the workpiece. Your MIG wire stick out should be about 10mm long. That way, your weld gets the best possible coverage as you go.
You want to weld at a consistent speed, allowing your weld puddle to melt in properly and keeping some gas coverage as it solidifies.
When MIG welding, if you’re using a gas-shielded wire, push your weld for the best gas coverage.
To prevent craters, if your machine includes them, you can use the down-slope settings on a high-frequency TIG machine or the crater fill setting on MIG. You can also use a run-off plate, so the weld is terminated on a piece of metal that can then be removed. If you’re TIG welding, you can also add more filler to the end of the weld as you end it.
Properly Store Your Filler Metal
You don’t want any moisture on your filler metals, especially when flux is involved. You should store your stick electrodes in a sealed, dry storage container to prevent them from absorbing moisture.
While they’re not the most vulnerable to moisture, you should still pack any mild steel MIG wire and TIG rods away as well, as they can still rust and become contaminated if left exposed.
How to Fix Porosity
Even if you’ve done everything possible to prevent porosity in your weld, there’s still a chance it can occur. When that happens, it will need to be fixed.
The only way to fix porosity is to completely remove it. You’ll only need to remove the part of the weld with porosity, but it will need to be ground back to the base metal. A thin grinding wheel is best, as you don’t want to grind into the base metal itself.
Once you’ve removed the affected section of the weld, you’ll need to clean it again to remove any possible contaminants. Then, when you start the next weld, start it slightly in front of the existing weld and back into it before continuing with the rest of the weld.
If the whole weld has porosity, you’ll need to remove it all and start again.
Can you weld over porosity? No, you can’t. Welding over porosity doesn’t remove the defect; it only covers it. Your original weld still has a problem that weakens the entire joint. You’ll need to remove it and then weld over the section again.