- MIG
- TIG
- MMA
How to Weld Stainless Steel: A Comprehensive Guide
By Sarah Mazlin
10/11/2025
17 minutes
In This Article
- Can You Weld Stainless Steel?
- Is Welding Stainless Steel Difficult?
- Types of Stainless Steels
- What Is the Best Welding Process for Stainless Steel?
- Can You Weld Other Metals to Stainless Steel?
- Prepping Your Stainless Steel
- How to TIG Weld Stainless Steel
- How to MIG Weld Stainless Steel
- How to Stick Weld Stainless Steel
- Purging Your Stainless Steel Welds
- Tips & Tricks for Welding Stainless Steel
- Troubleshooting Your Stainless Steel Weld
Stainless steel is known for its corrosion resistance, strength, and durability, which makes it a popular choice in a variety of industries. However, these same properties also make it a challenge to weld, as it can be more difficult to control your heat input on compared to other metals like mild steel. Plus, you don’t want to accidentally make your stainless not stainless when you’re done with it.
That doesn’t mean stainless can’t be welded. With proper preparation, and the right technique and equipment, you’ll be able to weld stainless steel with ease.
Can You Weld Stainless Steel?
Yes, you can weld stainless steel. Like mild steel, stainless steel can be welded using the MIG, TIG, stick or flux-cored processes. Depending on the type of welding used, the results and how easy it is to weld the stainless steel can vary.
Is Welding Stainless Steel Difficult?
There are a couple of factors that make welding stainless steel harder to learn.
The first big challenge with stainless steel is that it doesn’t disburse heat as effectively than mild steel, so it warps and distorts much easier when heated and cooled. Keeping the heat input low while still producing a weld with full penetration can take practice and a bit of skill to get right every time.
The next factor that makes stainless steel more difficult is the fact that there are several different stainless alloys, so getting the correct filler wire is important for getting a good weld.
Lastly, stainless steel, specifically stainless sheet, is considered a difficult metal to work with because it shows every scratch, blemish, and imperfection. Even just laying it on a metal table and welding on that can leave behind visible marks. The extra prep and care needed to keep the metal in tip-top condition is another reason it’s deemed harder to weld compared to mild steel.
While welding stainless steel might be harder than welding mild steel, it’s not impossible to learn. With enough practice, even the home hobbyist welder can do it.
Types of Stainless Steels
Stainless steels fall into five different classifications, which depend on the additional alloys that have been added and their resulting crystalline structure. These are:
- Austenitic
- Ferritic
- Martensitic
- Duplex
- Precipitation hardening
Austenitic Stainless Steel
Austenitic stainless steel is the most common type of stainless steel and is typically the stainless steel you’ll be working with unless it’s a specialty job. It is made up of additional alloys chromium (for corrosion resistance) and nickel.
Austenitic stainless steels include the 200 series and 300 series, in which 304 and 316 are the most common grades of stainless.
Ferritic Stainless Steel
Ferritic stainless steel, like austenitic, is made up of the additional alloy of chromium but little to no nickel. Ferritic stainless steels can’t be hardened and are magnetic.
Ferritic stainless makes up the 400 series, which includes grades 405, 409, 430, 122, 434 and 446.
Martensitic Stainless Steel
Martensitic stainless steel has a similar make up to ferritic stainless, with little to no nickel; and its additional alloys include chromium and more carbon. However, there is not as much chromium, and this reduction means it can be hardened by heat treatment but is also less corrosion resistant.
Martensitic stainless makes up the other part of the 400 series, including grades 403, 410, 416 and 420.
Duplex Stainless Steel
Duplex stainless steel is produced with a mix of austenite and ferritic in a roughly half-and-half ratio. It contains around 19%-32% chromium but lower amounts of nickel than austenitic stainless, with only around 5%. Duplex stainless has a much higher yield strength (so it can handle more stress on the metal) than austenitic stainless, but still has good corrosion resistance.
Duplex stainless doesn’t fall under any of the standard 200, 300, 400 or 600 series, but the most common duplex stainless is often referred to as 2205.
Precipitation Hardening Stainless Steel
Precipitation hardening stainless steel contains additional alloys like aluminium while maintaining enough chromium to have a corrosion resistance similar to austenitic stainless. The added aluminium means the metal can be precipitation hardened by a solution and ageing heat treatment to even higher strengths than martensitic grades of stainless.
Precipitation hardening stainless steels fall under three different types: martensitic (17-4 PH), semi-austenitic (17-7 PH) and austenitic. The resulting steels are 600 series stainless steels, including grades 630, 631 and 660.
What Is the Best Welding Process for Stainless Steel?
The welding process that will work best for your stainless steel will depend on a few factors, like the material thickness, whether the result will be visible, how many or how long the weld is, and how much experience the welder has.
The Pros & Cons of TIG Welding Stainless
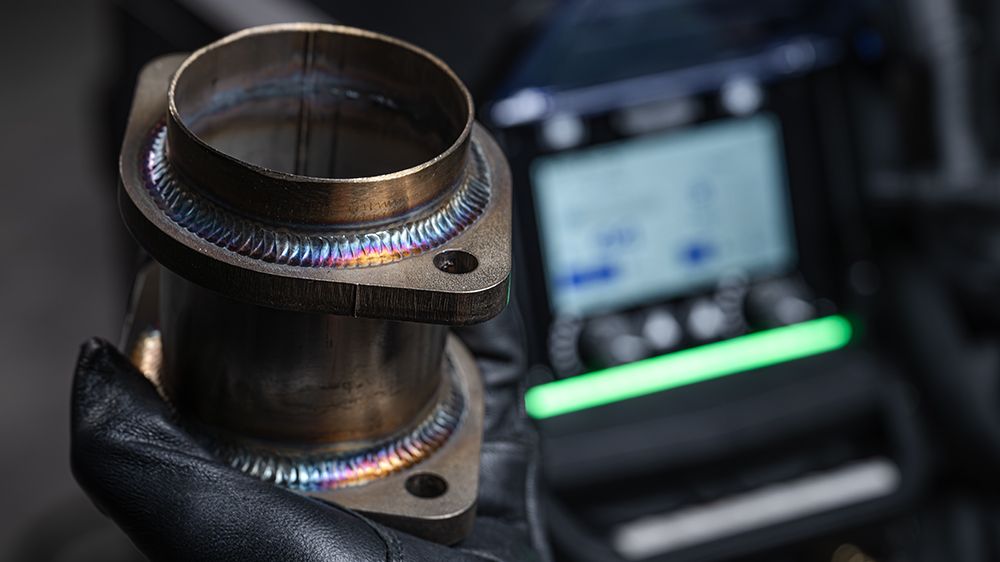
If the final product is going to be visible, and you need the weld to look good, TIG welding would be the way to go. Not only can you create an aesthetically pleasing weld with the stacked dimes effect, but stainless steel also changes colour depending on the heat input (there are many weld applications where colour is considered a defect, however).
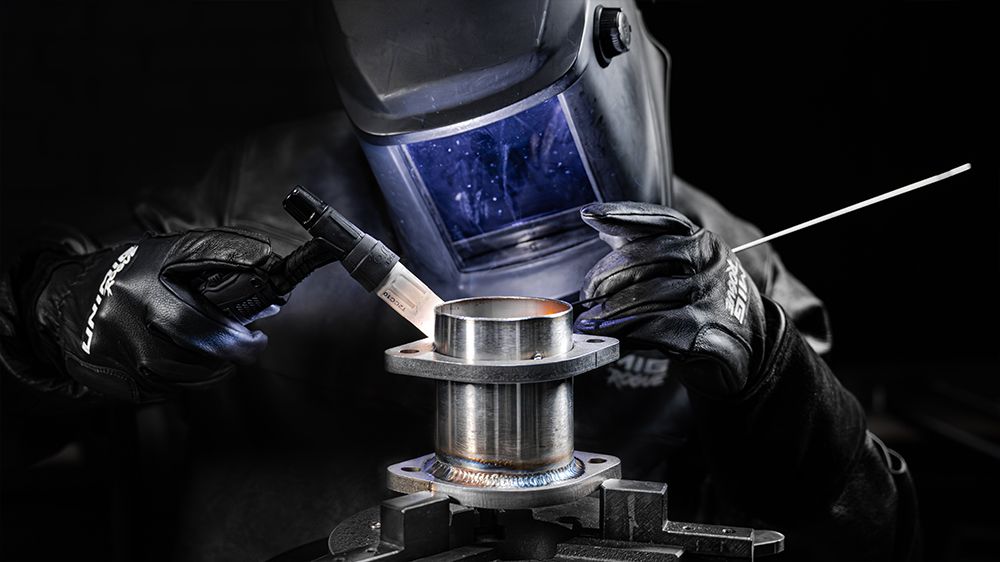
TIG welding allows for much better control over your heat input, as most TIG welders can pulse weld, minimising your heat. You also have the option to use a foot pedal or a potentiometer on the torch itself.
These accessories mean you can constantly adjust and lower your amperage, keeping your heat (and therefore warping and distortion) to a minimum. TIG welding is ideal when working with thin materials, like 1mm sheet, because of this heat control.
The downside to TIG welding stainless steel is that it’s the slowest welding process. If you’re doing a long weld, it might not be feasible, and there’ll be lots of stopping and starting as you run out of filler rods.
TIG welding is also the hardest to learn out of the three main arc welding processes.
The Pros & Cons of MIG Welding Stainless
TIG welding is not the only process capable of welding stainless steel. You can also use your MIG welder to do the job. MIG welding, in general, is a much faster process than TIG and stick welding because it’s semi-automatic, so you can get the work done faster.
This is great when you’re working on a job or project that requires periods of long welding. The continuously fed wire from the 1kg, 5kg, or 12.5kg spools means you don’t need to grab a new filler rod or electrode constantly.
You’ll need to swap your gas out to a 98% argon/2% CO2 mix, though. Stainless steel can’t tolerate as much oxygen or carbon dioxide as mild steel, so a standard MIG mix gas bottle can cause problems.
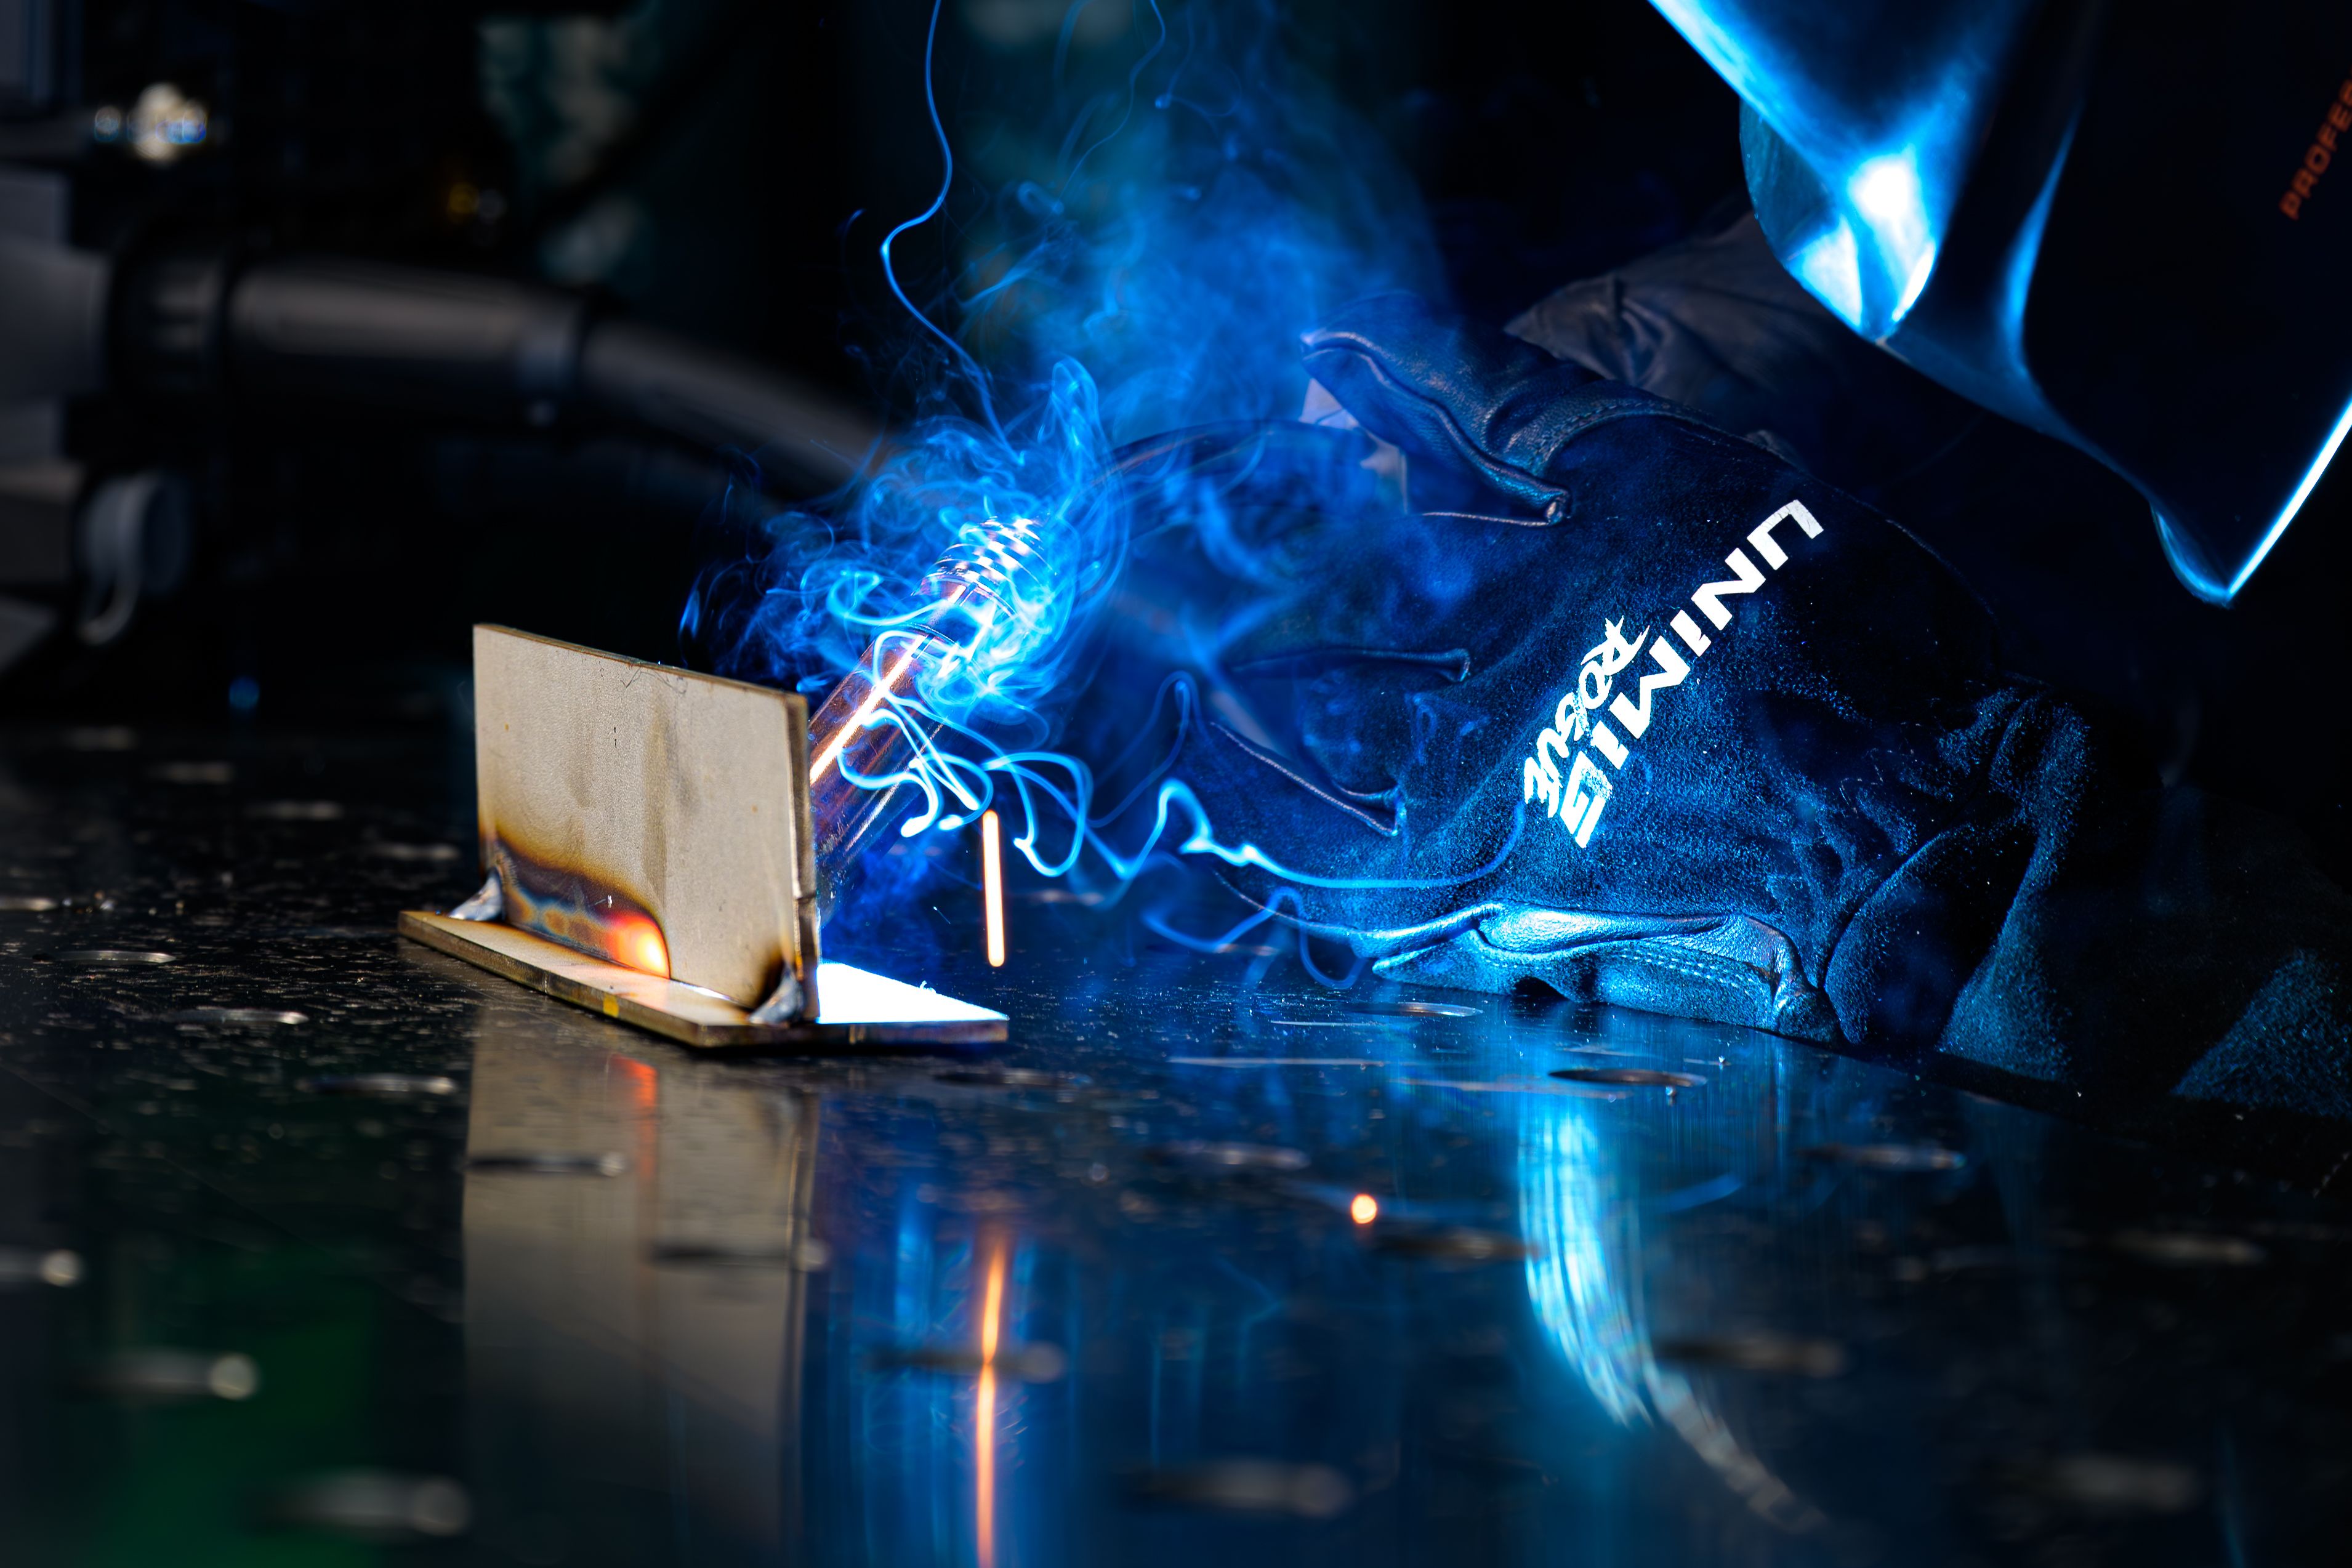
If you don’t want to get a new gas bottle, you can use a flux-cored stainless steel wire. That way, you get the benefits of flux-cored wires, like being able to weld outside, in windy conditions or in places you can’t bring a gas bottle.
You’ll also get the cons of flux welding, with the need to remove and clean up the slag that forms over the weld, especially on multi-pass welds. Flux-cored stainless steel wire is a lot more expensive than gas-shielded stainless wire, so keep that in mind when picking a filler material.
The Pros & Cons of Stick Welding Stainless
If you’re working in construction, on industrial applications, or on thick metals, you can stick weld your stainless steel. Stick welders are lighter and more portable than MIG and TIG machines, and they’re usually easier to set up. Stick electrodes also don’t need gas, so they’re perfect for onsite work.
The downside to stick welding is that you need to replace your electrode every time you burn through one. Stick electrodes also produce slag, which needs to be cleaned off after each weld.
Can You Weld Other Metals to Stainless Steel?
Yes, you can weld stainless steel to more metals than just other stainless, including:
- Carbon steels
- Galvanised steel
- Cast iron
Welding dissimilar metals together can be done, but it is a lot more difficult than welding similar metals. You need to know the different properties of each metal and assess whether the finished weld result is acceptable for the job.
Each metal has its own melting point and mechanical properties that will impact your prep and makes choosing a filler material for each job very important.
Welding stainless steel to galvanised steel will also require you to remove the zinc coating on the area being welded beforehand.
Welding stainless steel to cast iron will require the buttering method to be used with a filler metal that favours the cast iron.
Other dissimilar metals, like aluminium, will need additional transitional metals or metal inserts and advanced techniques or welding methods to join the two together.
These workarounds to make aluminium weldable to stainless steel often aren’t realistic, especially for onsite work, so technically, these metals can’t be welded together in most applications.
Check out our blog on welding dissimilar metals for a full breakdown of which metals can be welded together and how, with what filler materials.
Prepping Your Stainless Steel
When it comes to prepping for a weld, stainless steel is more sensitive than mild steel. The type of welding you’ll be doing will also dictate how clean it needs to be. For example, stick welding is more forgiving than MIG and TIG when it comes to how clean the metal is.
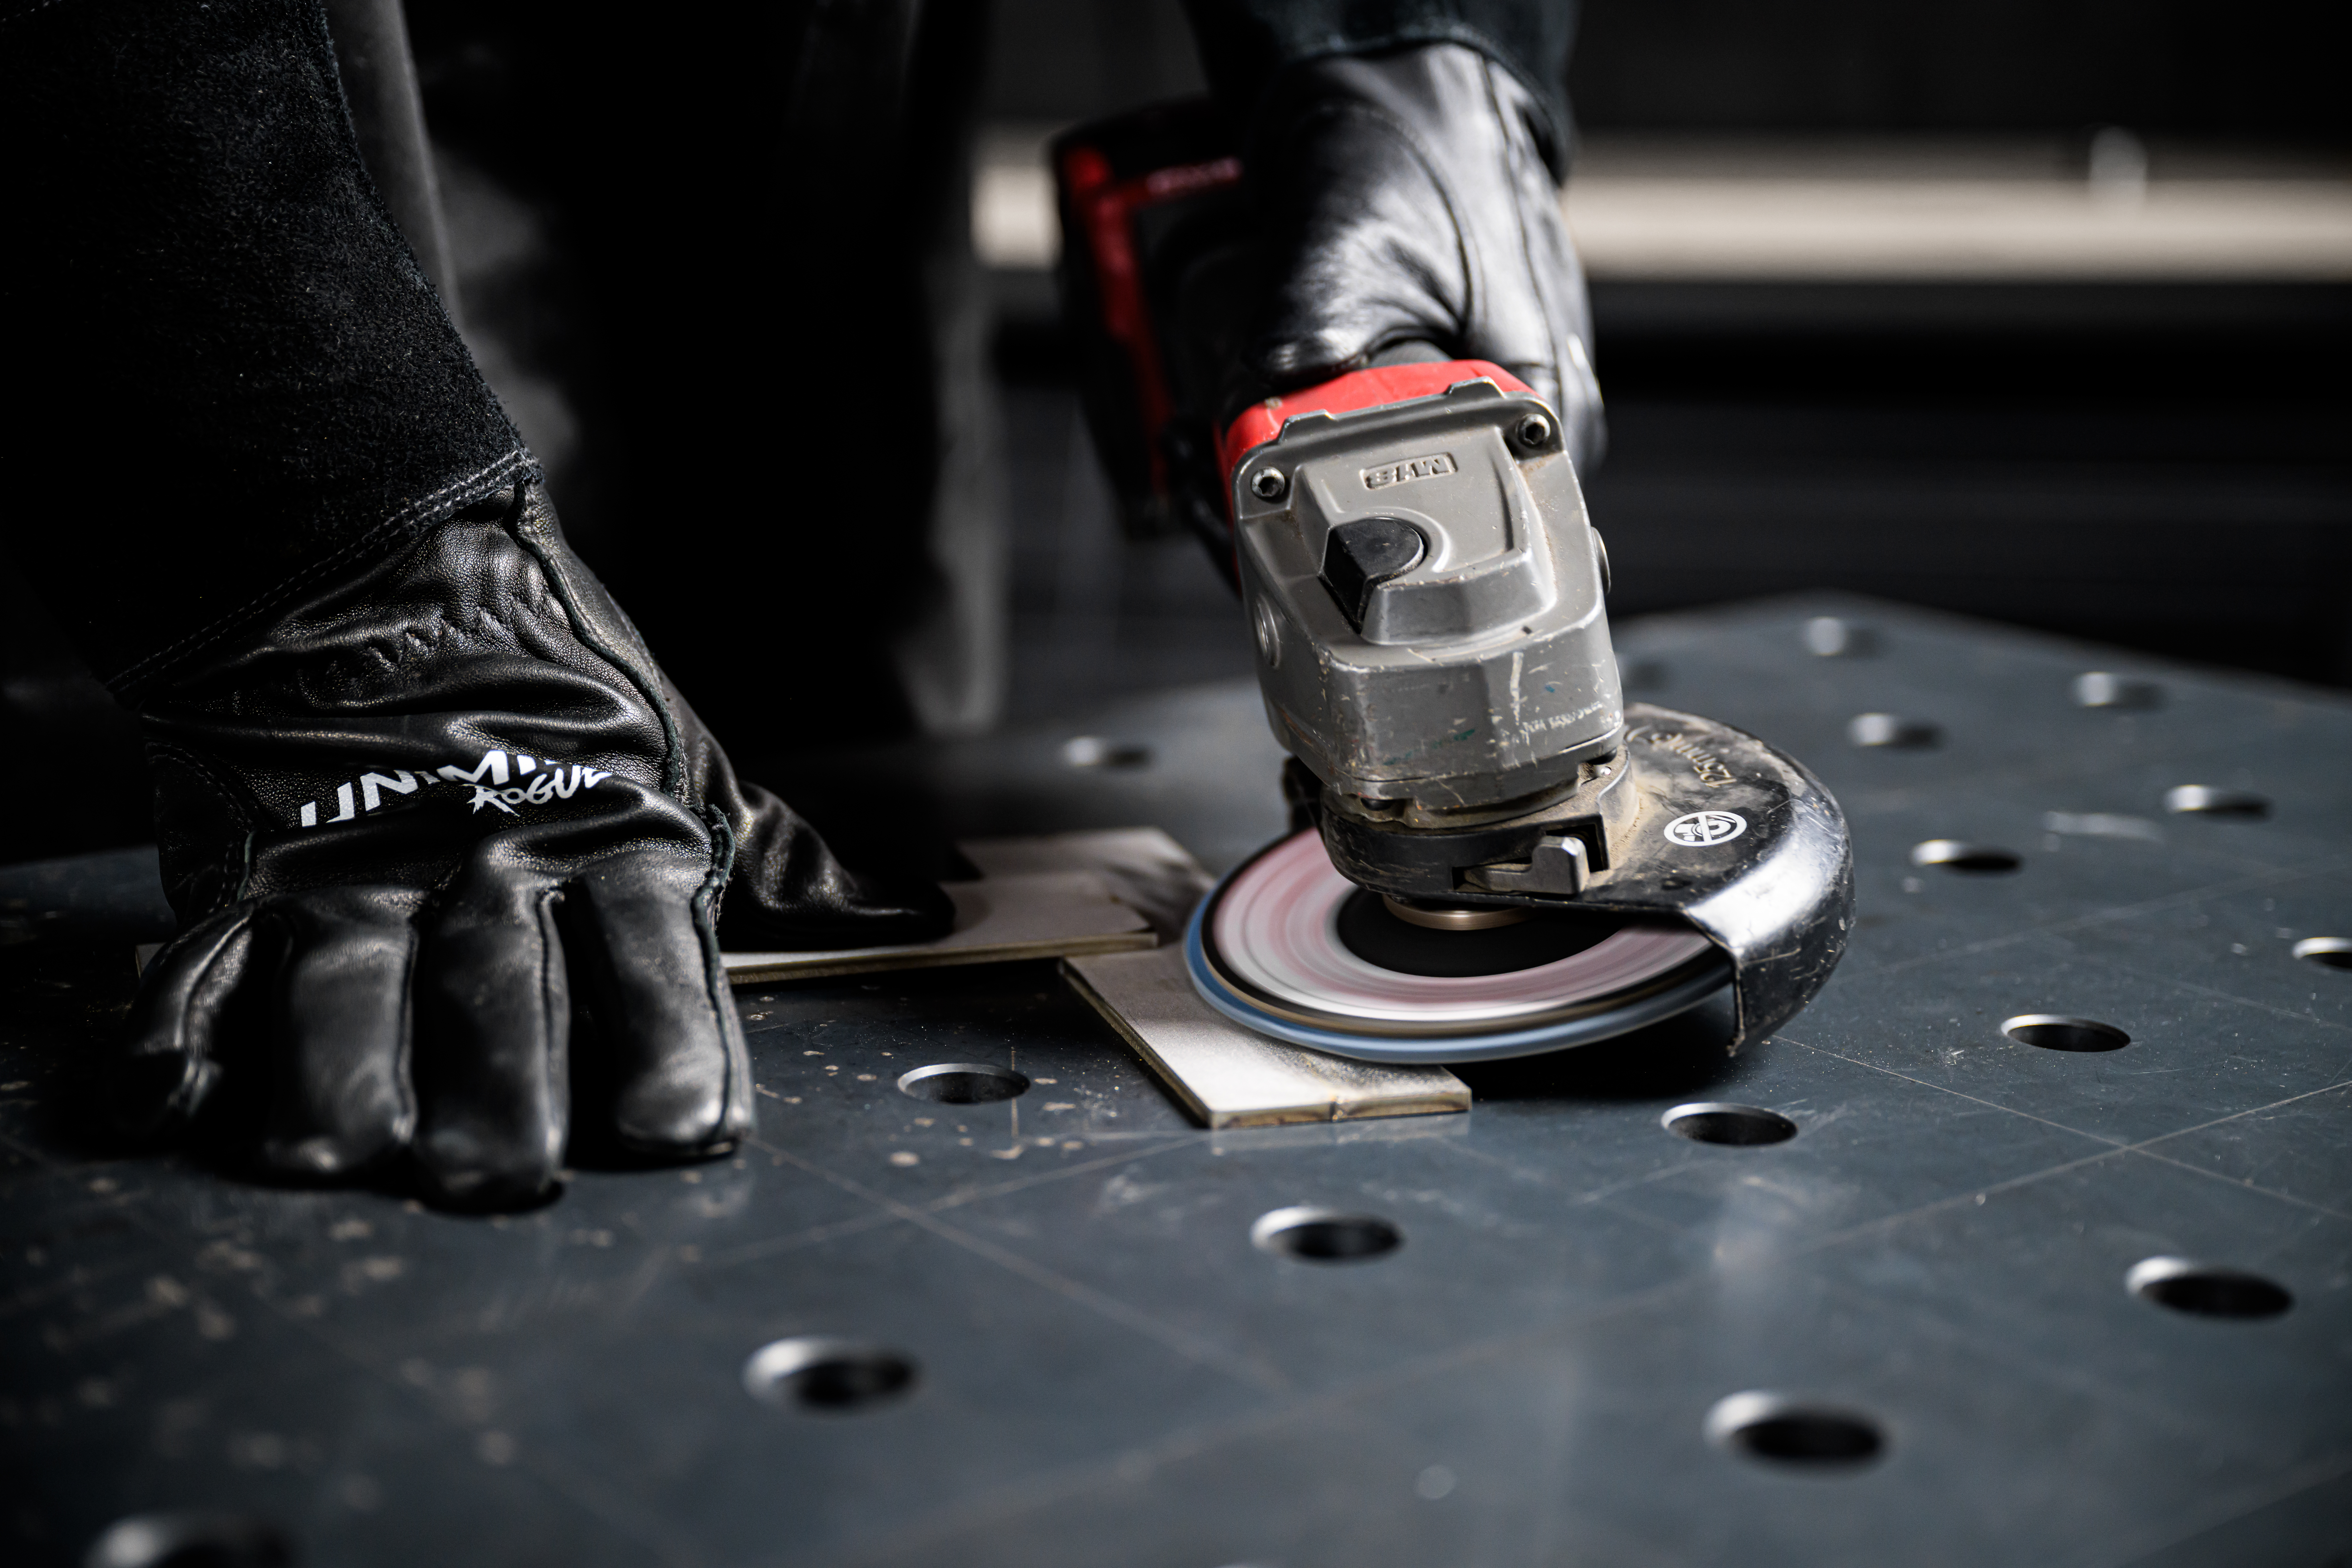
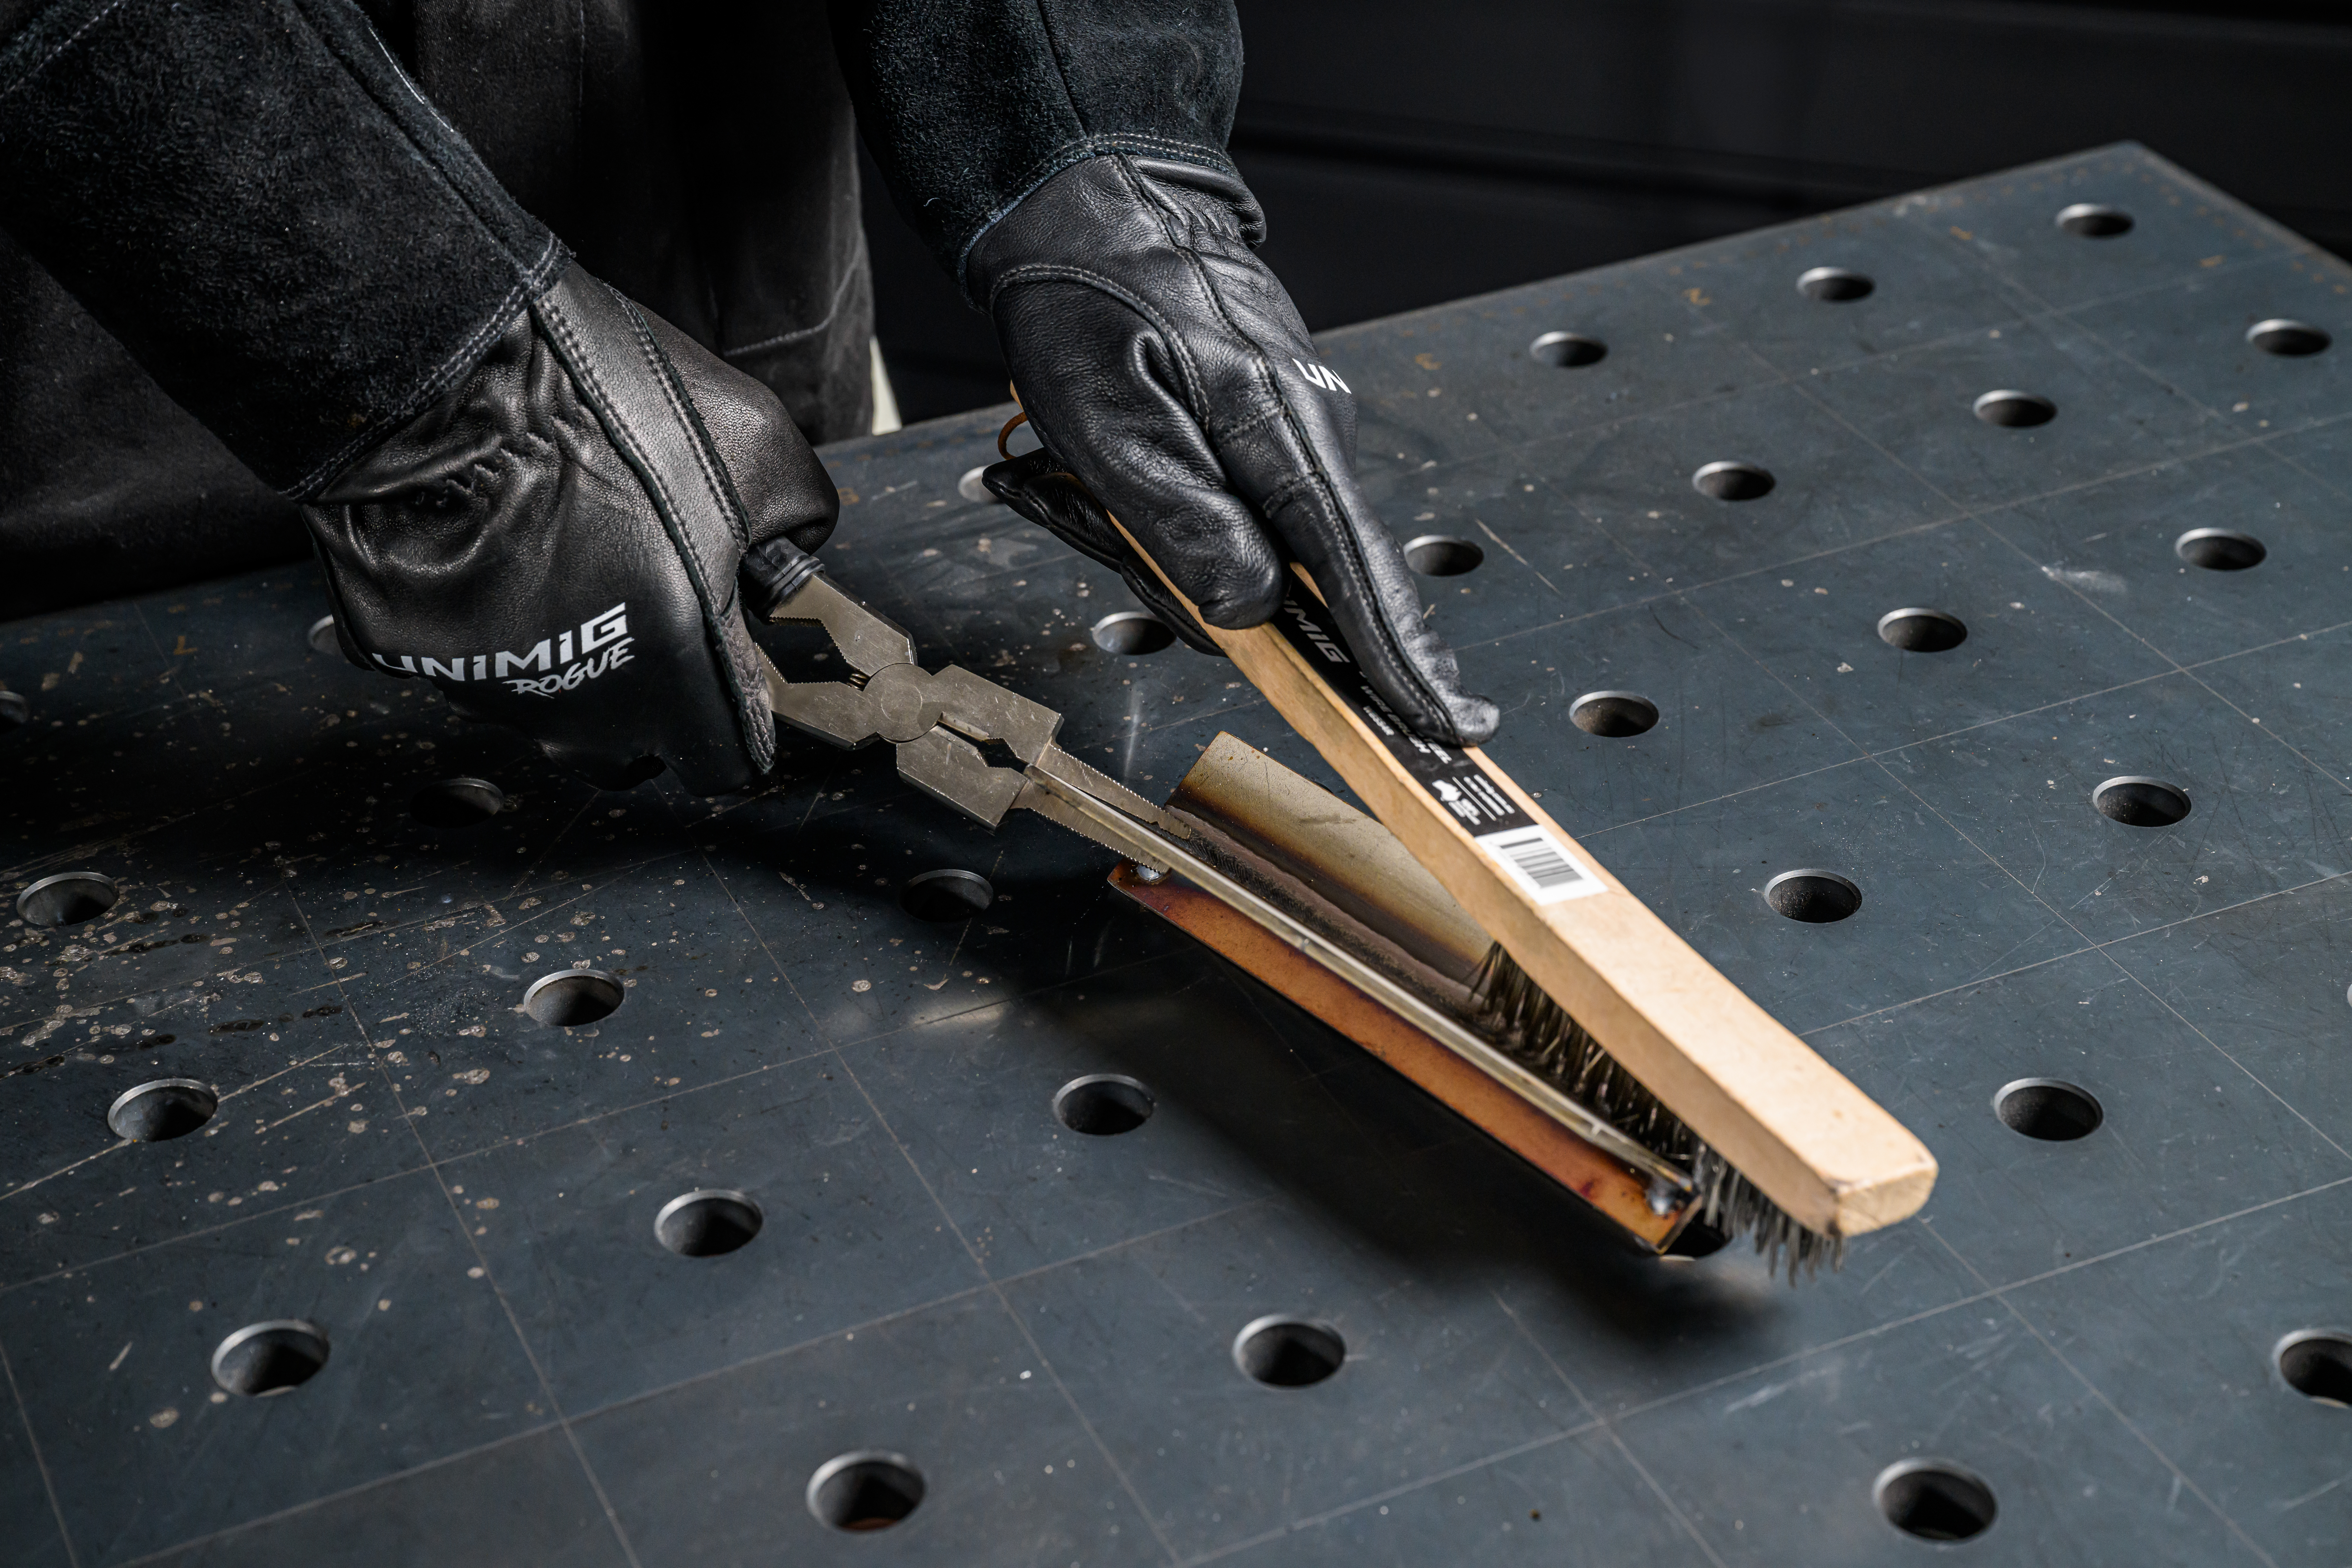
For the best results possible, you want clean base metal regardless of your chosen welding process. Remove contaminants like oil, paint, grease, waxers, primers, excessive anti-spatter products or dirt with a dedicated grinding wheel or wire brush.
Using a dedicated grind wheel or wire brush means that you won’t accidentally rub mild steel back into the surface of your stainless steel, which will cause you problems.
 |
 |
You can also give your metal a wipe down with acetone but don’t use a heavy-duty cleaner. They often leave residues on the metal after they’ve dried, which can cause contamination.
How to TIG Weld Stainless Steel
Stainless steel is TIG welded the same way all metals are, by letting a puddle form once the arc is started and then dabbing filler in as you move along the weld. Before you get to that stage, though, there are a few factors that need to be considered.
Tungsten Electrode
The type of electrode you select is important, as not all of them are compatible with stainless steel. We recommend using a gold lanthanated or purple rare earth tungsten.
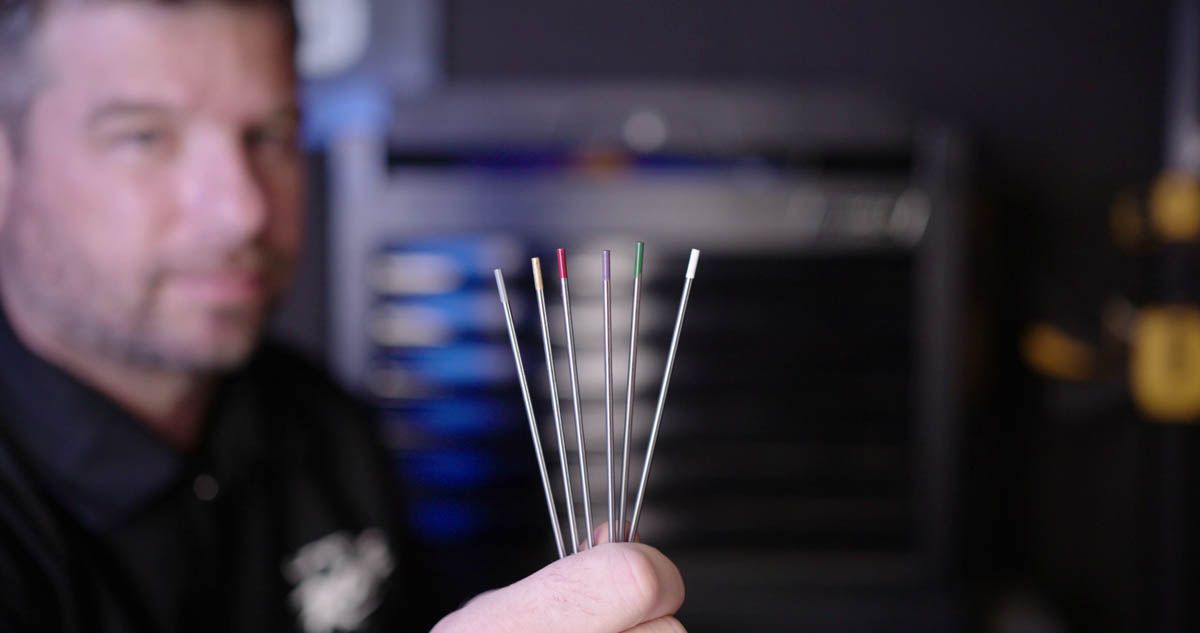
Once you’ve selected the type of tungsten, make sure it’s the right size for the material thickness and joint type. If the tungsten is too thin, it’ll melt under the amperage; if it’s too large, you’ll likely blow through the base metal before you get a stable arc.
When you prep your tungsten, you’ll want a pointed tip with a taper about 2.5x the tungsten’s diameter. To make the taper, press your tungsten vertically to the grinder at a 15° angle. Rotate it at a consistent pace until a point forms, and make sure to grind lengthwise with the tungsten’s grain, not horizontally against it.
Filler Rod
Your filler rod should be as close a match to your base metal as possible. If you’re welding an austenitic 300 series stainless steel, you’ll want a filler rod like 308L or 316L (the L stands for low carbon) to match. If you’re not sure what kind of stainless steel you’re welding, 309L filler is a good choice, as it’s designed to weld dissimilar metals.
Quick Tip
Use a filler rod one size smaller than you would for the same job on mild steel, as you won’t need as much heat to melt it, but don’t forget to match it to your tungsten size.
Polarity
As with all TIG welding, your machine will need to be in direct current electrode negative (DCEN). That means your torch will be plugged into the negative dinse port, and your earth clamp will be plugged into the positive dinse port.
If you plug your TIG welder to run in direct current electrode positive (DCEP), you’ll know as soon as you start to weld. Your tungsten will burn up and melt away almost instantly.
TIG Shielding Gas
The shielding gas you need to weld stainless steel is pure argon. This is the same as all TIG welding, as it requires an inert gas, although helium can be added in small quantities to the mixture to aid with penetration and heat.
Your flow rate for proper gas coverage will be between 8-12L/min. This will need to be increased slightly if you use a larger cup size, such as a 10 or larger, as it needs a larger volume to maintain an adequate flow rate.
Amperage
Stainless steel retains more heat than mild steel, so choosing the optimal machine settings, like your start, peak, and end amps, is important. If you’re using a pulse setting, you’ll also need to choose an appropriate base amperage.
How much heat you’ll need will depend on how thick your stainless is and the type of joint you’ll be welding (butt, fillet, or lap). Our Ultimate Welding Guide has a complete chart of recommended settings for stainless steel for a range of metal thicknesses and joint types, which you can use if you’re not sure where to start.
Another good option, if you have one, is to use a foot pedal or amperage dial (potentiometer) on the torch.
Foot Pedal or Torch Potentiometer
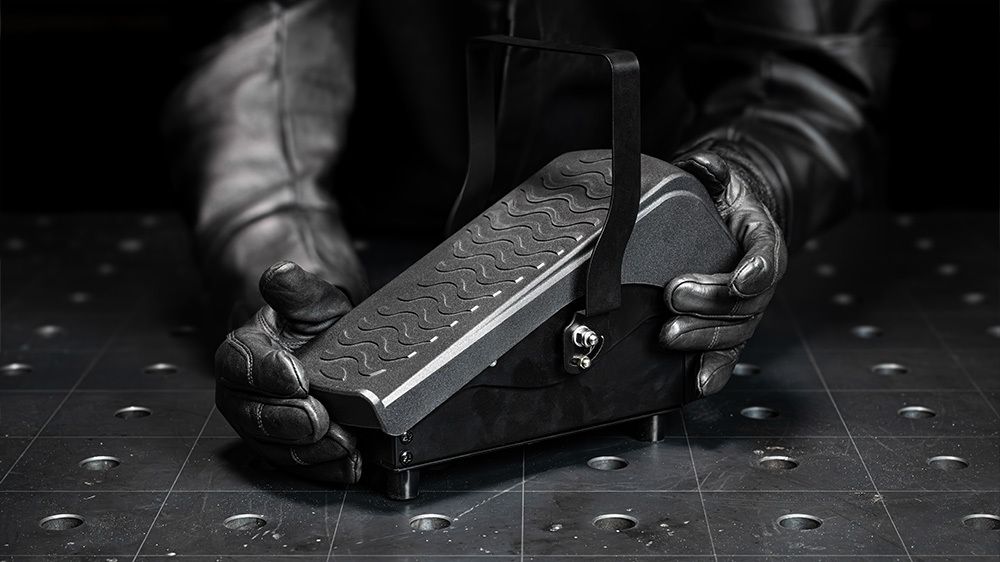
If your welder has the ability (all UNIMIG TIG welders do), you can use a foot pedal or a torch potentiometer to adjust your amps and heat input while you weld. Being able to control and minimise your heat input as you go reduces your chances of cooking the stainless or warping it.
How to MIG Weld Stainless Steel
Just like TIG welding, the actual process of MIG welding stainless steel is like all MIG welding. Once your machine is set up, you can press the trigger and weld away. First, though, there are a few things to do to get properly set up.
Filler Wire
First things first, you’ll need to select your filler wire. Your filler wire should be as close a match to the base metal as possible. If you’re welding a 300 series stainless steel, use a filler wire like 308L or 316L. If you’re not sure what kind of stainless you’re welding, 309L wire is designed for dissimilar metals, including different grades of stainless steel.
MIG Shielding Gas
When MIG welding stainless steel, a 98%Ar/2%CO2 gas mix is the best gas you can use. A 90%He/7.5%Ar/2.5%CO2 tri-mix is also good, but it’s a more expensive option. Using a pure inert gas like argon on its own isn’t possible, as it doesn’t provide enough penetration or heat to the weld.
Stainless steel is sensitive to active gases like carbon dioxide, so the higher levels of argon and lower levels of CO2 in these mixes provide the best weld characteristics without harming the corrosion resistance of the metal.
Once you’ve chosen your gas, you’ll need to set your flow rate between 14-18L/min for the ideal gas coverage. If you’ve chosen a primarily helium gas mix, your gas flow rate will need to be higher, as it’s a lighter gas.
Polarity
The polarity of your machine will depend on whether you’re running gas-shielded wire or flux-cored wire.
If you’re running a gas-shielded wire, you’ll need to run your machine on DCEP. That means your torch will be plugged into the positive dinse connection, and the earth clamp will be plugged into the negative dinse connection.
When welding with flux-cored wire, you’ll need to swap the polarity to DCEN.
Machine Settings
Your wire feed speed and voltage should suit your material thickness, but generally, stainless steel usually requires a higher wire feed speed than mild steel.
All UNIMIG MIG welders come with a settings chart inside the machine door. These settings are usually a good starting point that you can then fine-tune to your weld joint and application if necessary.
How to Stick Weld Stainless Steel
You can stick weld stainless steel the same way you’d stick weld any metal. Strike the electrode on the workpiece and drag it along the weld joint. Before you start the weld, though, you’ll need to pick an electrode and set your amperage.
Stick Electrode
As with all stainless steel welding, it’s best to use an electrode that matches your base metal. For example, when you’re welding a 300 series austenitic stainless steel, you can use 316L electrodes. If you’re not sure what you’re welding, or you’re welding two different types of stainless steel, you can use 312L (which are preferred) or 309L electrodes.
Amperage
Stick electrodes make picking an amperage relatively easy, depending on your welding position. Most electrode packets will have their recommended amperage range ratings printed on them.
When working on a vertical or overhead weld, you’ll want to use the bottom end of the amperage range. A stainless steel weld pool is more fluid, so you’ll need to lower your amperage to keep the weld from dripping out.
If you’re not sure what amperage to use, start on the lower end of the range and work your way up. Otherwise, our Ultimate Welding Guide also contains recommended settings for stick welding on different thicknesses and joint types.
Purging Your Stainless Steel Welds
If you’re welding any stainless steel piping or tubing, working on high-pressure applications or in sanitary fields like dairy and food service, you’ll likely need to purge your welds.
Purging, or back purging, is the process of shielding the back of your weld from atmospheric contamination (carbide precipitation).
If you don’t purge the back of your weld, especially when working on pipes, the backside will look like it’s covered in granules (known as sugaring) and will often be black.
To purge, first, you’ll need an extra gas tank or a dual regulator, as you need to pump gas to your torch and into the pipe at the same time but at different flow rates, which requires two hoses.
Plug up the ends of your pipe. You can get specifically designed purging plugs for this, or tin foil works as well as a DIY option (glad wrap doesn’t work, it’s too weak to hold the gas in).

It’s essential to make sure you have a ventilation hole on either end, as you need to insert your gas hose in one side and have an exit hole for the atmospheric gas to escape. If you don’t leave a vent hole, the gas will make its own as you reach the last part of your weld, and it becomes trapped.
If you’ve purged correctly, your weld should be smooth inside and look similar to the outside weld.
If you’re not welding on piping or tubing but still need to protect the back of your weld, you can get aluminium or copper backing plates. These can be clamped in place and work well to keep the back of your weld shielded from oxygen.
Tips & Tricks for Welding Stainless Steel
While the methods for welding stainless steel are the same as mild steel, there are a few tips and tricks you can use to improve your welds.
1. Up Your Travel Speed
You want to travel faster on stainless than you would on mild steel. Stainless steel isn’t very thermally conductive, so heat can build up quickly, which means you’ll need to move along the weld joint faster to keep everything from overheating.
When TIG welding, that also means getting a puddle going relatively quickly. You want to have a puddle going and start moving, adding filler, within about 2 seconds.
However, you don’t want to go so fast that you don’t get proper fusion or lose control of the weld pool.
2. Use the Right Torch & Travel Angle
You want to hold your torch at roughly a 5°-15° angle to the weld and push. The only time you don’t want to be pushing the weld is if you’re working with a filler material that produces slag.
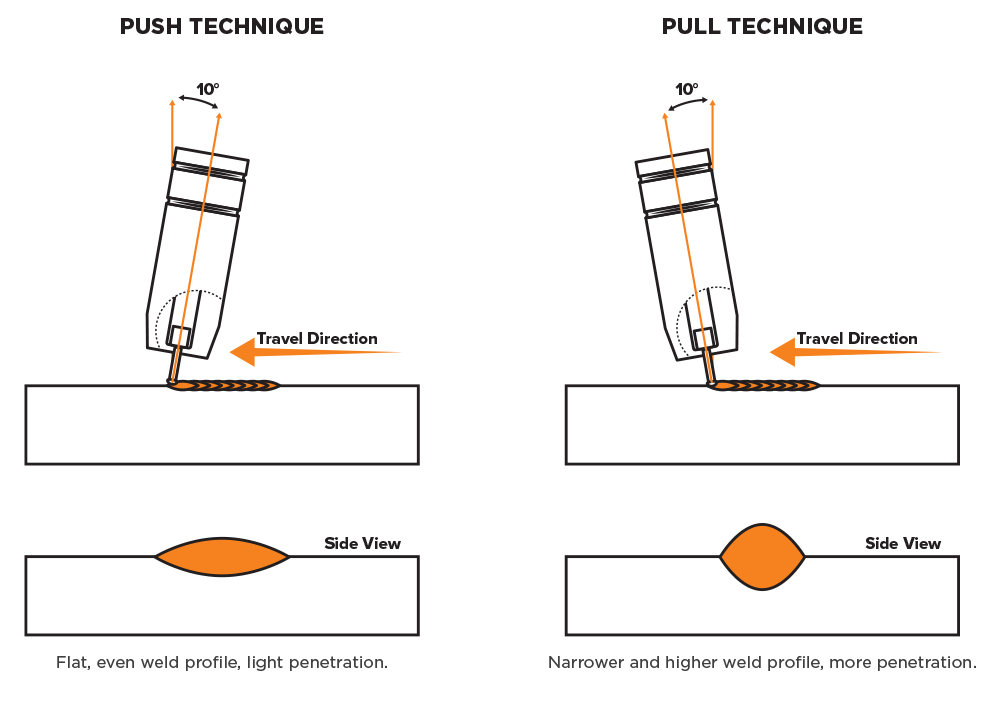
If you’re stick welding or MIG welding flux-cored wire, you should pull your weld instead. But you’ll still hold your torch or the electrode at a 5°-15° angle.
3. Use a Dedicated Stainless Steel Wire Brush
As mentioned above, stainless steel is more sensitive than mild steel when prepping for a weld. That means you’ll need to use a dedicated stainless steel wire brush when cleaning the metal that’s being welded.
If you use a brush that’s previously been used on another metal like mild steel, it can be transferred onto the stainless and cause issues in your weld.
4. Set a Good Amount of Post-Gas
Whether you’re TIG or MIG welding, if you can set a post flow on your machine, you should. The extra gas flow over the end of the weld will keep it shielded while it cools down and prevent it from cracking or oxidising.
Make sure you don’t move your torch away before it’s done, either.
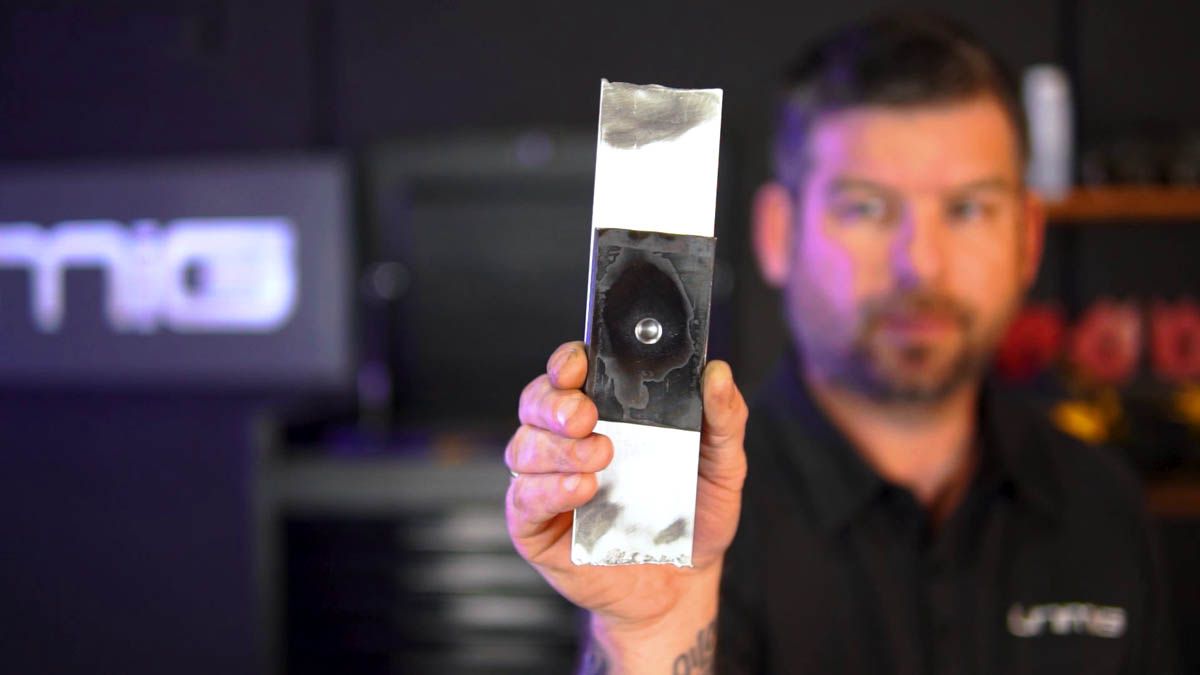
5. Use Chill Bars or Backing Plates
Clamping some chill bars or backing plates onto your stainless steel pieces is a good way to keep the heat input down. These will help draw the heat out of the weld as you go, but you should still keep your travel speed up, even with a chill bar.
6. Use a Gas Lens on Your TIG Torch
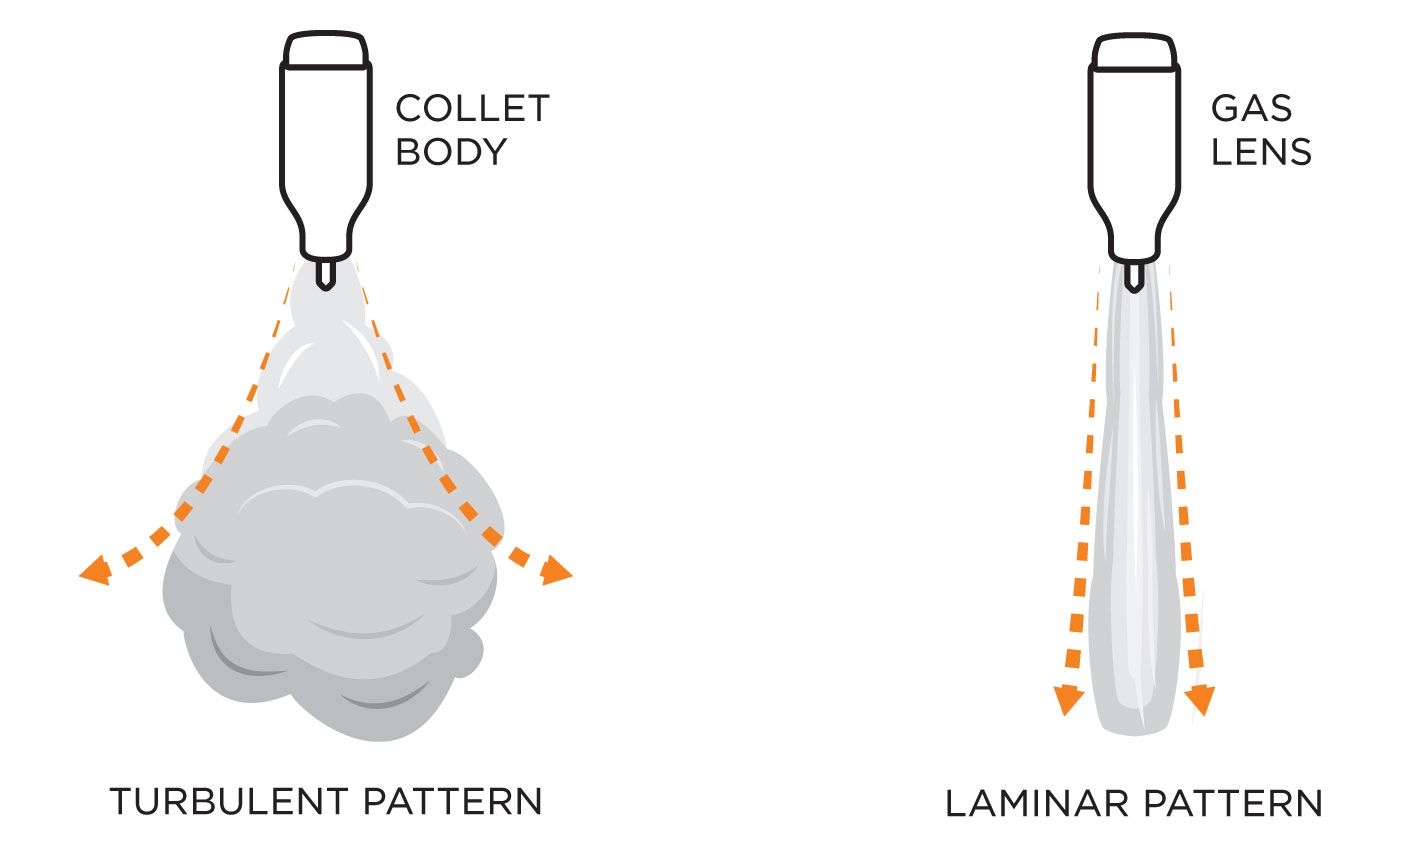
Setting your TIG torch up with a gas lens rather than a standard collet body will give you better gas coverage and will let you use larger-sized cups. More gas coverage will help with keeping your weld pool shielded. It also lets you have your tungsten stick out further, so you can get into tighter spaces.
Troubleshooting Your Stainless Steel Weld
Stainless steel is subject to the more common welding problems like undercut, cracking, etc., as all metal is. Some of the specific issues you can run into on stainless are warping and oxidization.
Is Your Metal Warping?
Almost all metal is susceptible to warping, especially if you’re working with sheet metal. Stainless steel is more prone to warping at any thickness because it isn’t very thermally conductive.
It warps easily when exposed to excessive heat, which is why keeping your heat input down is important. Some ways you can prevent warping are:
- Stagger your welds to spread the heat out
- Use lots of clamps and lots of tacks to hold everything in place
- Use a chill bar or backing plate
- Keep your amperage down
- Prepare your joint fit up to allow for distortion, so once it’s welded, it pulls itself back into place
Is Your Weld Oxidised?
If your stainless steel weld has gone dark grey or black, you’ve overcooked the weld. That means that the weld has been too hot and is now completely oxidised, and all of the corrosion resistance has been burnt away.
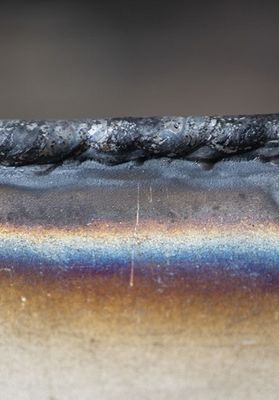
If this happens, you’ll need to remove the weld and start again. To prevent it from happening, turn your amperage down or increase your travel speed. That way, there’s not as much heat being put into the joint as you go.
While welding stainless steel is more difficult than mild steel, it can still be done, and well, with the proper equipment, good technique and a bit of practice.