Welding Helmets: How to Choose the Best One for You
May 16, 2022
Your welding helmet is one of the most important safety items you’ll need for any weld. They protect your eyes and skin from the UV (ultraviolet) and IR (infrared) rays, as well as the blue light emitted from the arc during a weld.
They also protect your head and face from sparks and smoke. That’s why choosing a good helmet that’s going to offer the best protection is essential.
But what makes a welding helmet ‘good’? We’ve covered all the features you should be looking for in your next welding helmet.
Safety Standards
When looking for a welding helmet, the first thing you should check is the safety standards. If the helmet you’re looking to purchase doesn’t meet the regulations of your region, it’s not a good helmet.
In Australia, every welding helmet needs to meet the standards AS/NZS 1338.1 (auto-darkening) & AS/NZS 1337.1B (high impact). These standards ensure that the helmet can withstand high impacts without breaking and that all auto-darkening lenses provide 100% protection against harmful UV and infrared rays.
Note: The Aussie and Kiwi standards are not interchangeable with European ones, so make sure you purchase a helmet from a reputable brand that meets the local requirements for the safest weld.
Auto-Darkening vs Passive Helmet Lenses
What is a passive helmet?
A passive lens welding helmet comes with a lens that uses UV and infrared coated glass that is tinted to a set shade, usually shade #10. These helmets don’t change shades, so they need to be flipped up when you’re not welding to be able to see.
That means when prepping the weld joint, positioning the torch or inspecting the weld, the helmet needs to be up. It can be flipped down by flicking or nodding your neck, allowing it to fall back into place so you can strike an arc.
There are a few problems associated with passive helmets.
First, it can be difficult to keep the torch perfectly lined up while getting the helmet back into place, especially if you’re still learning to weld.
Second, the shade can’t be changed. If you were to TIG weld at low range amps (50A), or MIG weld at 250A, the fixed shade of the helmet wouldn’t be suitable. You either wouldn’t be able to see the weld properly, or the weld would be too bright, which can still cause damage.
Third, the constant up and down of the helmet can put a serious strain on your neck. For any kind of tack welding or small sections, having to flip your helmet up every single time can really take its toll.
When you’re welding day in, and day out, that kind of stress on your neck can lead to injuries.
What is an auto-darkening helmet?
An auto-darkening helmet has a lens that tuns ‘on’ and ‘off’. When you’re not welding, and no arc is detected, the helmet’s lens will be shade #3 or #4 (depending on the brand).
This is quite a light shade, similar to looking through sunglasses. Once the sensors detect an arc, the lens will turn ‘on’, changing instantly (and automatically) to shade #9-#13.
There are two types of auto-darkening helmets available on the market: fixed or variable.
Fixed auto-darkening helmets
A fixed auto-darkening helmet has a similar lens to a passive lens helmet. While it can change from light to dark, it only has one ‘dark’ shade, generally shade #10 or #11.
They remove the issue of neck fatigue and strain, as you won’t have to constantly take it off to check your weld, but they’re still not suitable if you’re welding at an amp range that isn’t covered by its pre-set shade.
Variable auto-darkening helmets
A variable shade auto-darkening helmet, on the other hand, will change from light to different shades of dark. When an arc is struck, the lens will darken between shade #9 and #13. On high-end helmets, you can also select shades #5 to #8 for grinding, plasma cutting and low amperage TIG welding.
In general, UNIMIG recommends always getting a variable shade auto-darkening helmet. These days they can be bought on a budget, and you won’t have to worry about any accidental arc flashes.
If you’re going to get yourself a variable auto-darkening helmet, there are a few other things to consider.
Optical Clarity Classifications
What is the helmet’s optical clarity? The optical clarity is basically just how well you can see out of the helmet. Every auto-darkening helmet has four critical categories evaluated to determine its optical clarity. These tests are rated from 1 to 3, with 1 being the best and 3 being the worst. The four tests are:
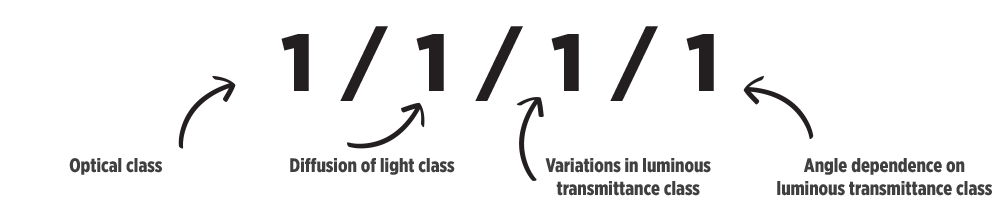
Optical class: how distorted is the image through the lens? If you look through the lens, and it’s like looking through rippled water, then it’s not a good helmet. The image should be clear and crisp to obtain a 1 rating.
Diffusion of light class: are there impurities in the lens from the manufacturing process? These impurities make the lens unclear and hard to see out of, like fingerprints or scratches on glasses. The lens should be uniform and clear to obtain a 1 rating.
Variations in luminous transmittance class: focuses on the lens’s adjustable shade function. Once a shade has been selected, how consistent is it across the lens? A quality lens will be the same shade up or down, left to right, and in the corners. There should be no areas that are too bright or too dark, as this affects the optical clarity. An even shade across the entire lens is needed to obtain a 1 rating.
Angle dependence on luminous transmittance class: there should be a clear view with no stretching, dark areas, blurriness, or problems when looking at an angle. This is similar to variations in luminous transmittance. It measures the consistency of the shades across the lens but at an angle. It should look the same downwards or upwards as it does straight through to obtain a 1 rating.
When you’re looking for a helmet, you’ll want one that has a good score on these classifications. A 1/1/1/1 is the best classification a helmet can get.
Shade Range
What is the shade range of the helmet? The shade range is how light or dark the helmet filter can get. The higher the number, the darker the shade.
It’s important to find a balance between adequately protecting your eyes while still clearly seeing your workpiece.
Every variable auto-darkening helmet will have a dark shade range of #9-#13, which covers MIG, TIG and stick. You can also get helmets that come with the additional dark shade range of #5-#9. Almost every helmet’s light shade is a #3 or #4.
How bright your arc is (how many amps you’re running on) will determine which shade you’ll need. The lower the amps, the lighter the shade will need to be.
For example, on a #9-#13 helmet, low amp TIG welding (10-25A) will not be possible. You’ll need a shade #5-#9 helmet for low amp TIG. There are recommended shades for each type of welding and the amps you’re welding at.
When you’re picking a shade, it’s better to start with a shade that is too dark and get lighter. You don’t want to choose a shade that is too light and flash yourself trying to find the right shade.

Lens Sensors and Reaction Time
How many arc sensors does the helmet have? Most helmets will have between two and four sensors on them. Entry and hobby level helmets will generally only have two, while industrial level helmets will have up to four.
These sensors are what detect the welding arc and trigger the darkening in the lens. The more sensors you have, the better the coverage, which can be needed for any out-of-position welding that might obstruct some.
How fast does the lens react? The lens reaction time or switching speed is how quickly the lens goes from light to dark when it detects the arc.
Most professional welding helmets should have a reaction time between 0.1ms (1/10,000 of a second) and 0.04ms (1/25,000 of a second). The actual reaction speed of the helmet may vary depending on the operating temperature.
View Size
How big is the lens? Being able to see what you’re doing while you’re welding is essential, so you’ll want a helmet with a lens that’s big enough.
The lens size you get will mainly come down to personal preference, but a bigger lens can be beneficial if you’re welding out-of-position.
Adjustable Settings
Depending on the helmet you get, they may have the ability to change the lenses sensitivity and delay times.
Sensitivity: how much light will trigger the lens to darken. You can choose how sensitive you want the helmet to be. If you’re welding with low amperages (and a duller arc) or doing a lot of outdoor welding, you’ll want a helmet that you can increase the sensitivity on.
Delay: how quickly the helmet goes from dark to light. A short delay means the lens will lighten quickly, while a long delay will mean the helmet stays dark for longer. An increased delay is used a lot with pulse welding, as you don’t want the helmet to lighten as the arc fades during the cycles. If you were doing a lot of tack welding, a short delay would be great.
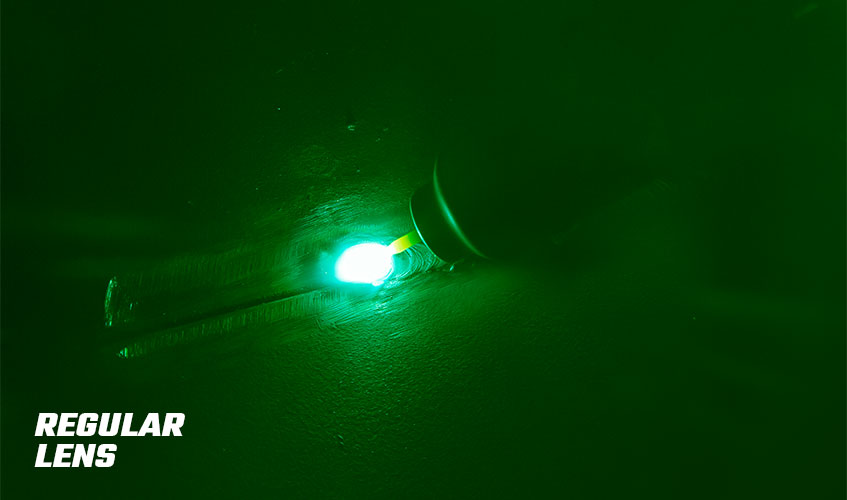
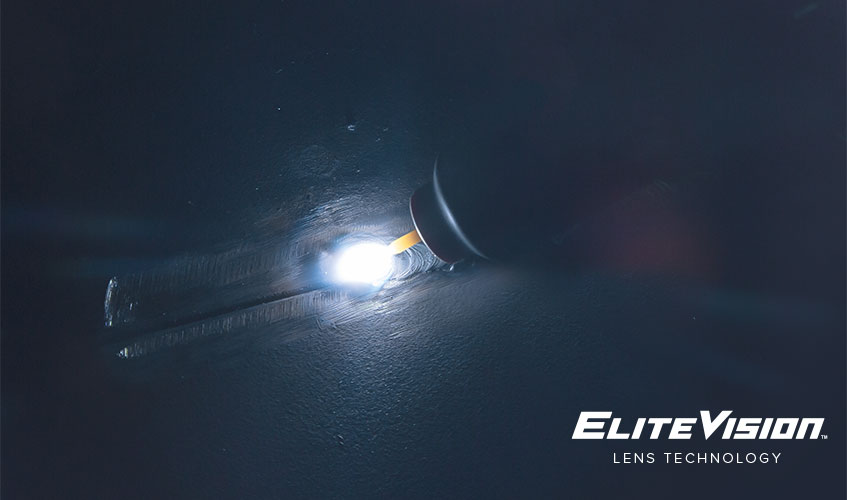
True Colour Lens Technology
Does the helmet have true colour, or is it green? True colour means that more colours from the spectrum can pass through the lens (more reds and blues, less greens) for better optical clarity. It eliminates the green hue that is typical of some older welding helmets.
It makes it much easier to clearly see the weld at all stages of the process, and it reduces eye fatigue so that you can weld for longer periods.
The ELITEVISION technology in UNIMIG helmets allows for a true colour view.

Comfort and Fit
How comfortable is the helmet? When you’re welding, especially if it’s for long periods, comfort is essential. The harness on the helmet is what makes them comfortable. You can get 3-point, 4-point and 5-point harnesses.
The more points of contact on the harness, the comfier it’s going to be. This is because each point of contact allows for adjusting so you can better fit the helmet to your head. They also help distribute the weight evenly, so it doesn’t strain your neck.
Batteries and Solar Charging
Is the helmet solar powered? Does it come with a replaceable battery?
Every welding helmet on the market is solar powered. Because a welding arc produces UV rays (which is what the helmet is protecting you from), the helmet can charge at the same time as it’s being used.
For the most part, you never have to worry about them failing. You can also leave them in the sun if you want to.
Solar-powered helmets still include an internal battery (this is what’s being charged) which powers up the helmet, but they’re not removable or replaceable. So if the internal battery were to stop working or storing charge, the entire helmet would need to be replaced.
That’s why some helmets (usually mid-to-high-end) also come with a separate backup battery. It’ll kick in if your helmet does run out of power or the solar charging fails.
The backup battery will keep the lens darkened if you’re in the middle of a weld, rather than having it turn off and flash you unexpectedly. These batteries are also replaceable if the backups themselves run out.
Grind Mode
Does the helmet have a grind mode option? While grinding may not be as dangerous as welding, it still produces sparks that your eyes should be shielded from.
That’s why some helmets come with a grind mode. It can be external, on an adjustable knob, or internal as a pressable button. In both instances, selecting this mode will stop the helmet from auto-darkening, so when sparks start flying, the lens will remain in shade #4 or #5.
It stays light enough to see clearly, and your eyes and face remain protected from any stray sparks and debris.
Grind mode means you don’t have to take your helmet off and on over and over, especially if you have a lot of grinding to do before or after the weld.
Magnifying ‘Cheater’ Lens
Mag (or cheater) lenses let you zoom in and get a closer view of your weld. They insert over the lens inside the helmet and work the same way that a standard magnifying lens does.
They’re perfect for getting a better view of small joints, or if you can’t wear your glasses with your helmet, you can use a mag lens as an alternative.
Respirators and Other PPE
Can you fit other pieces of PPE under the helmet? A welding helmet isn’t always the only piece of PPE that you’ll need to protect your face with.
If the welding you’re doing is producing a lot of fumes, or your position means your face is trapped in them, you’ll need a respirator. Respirators will keep your lungs clear of any welding fumes and gas.
While welding helmets offer ample protection, it is still recommended that safety glasses be worn underneath for an extra layer of shielding for your eyes.
A lot of welding helmets sit flush against the face, making it impossible to wear respirators or safety glasses without the helmet sitting funny and exposing the front of your neck. If you’re planning to have any added protection, make sure it fits.
PAPR Helmets
Are you going to be welding in confined spaces or somewhere your face is stuck in welding fumes? If you’re exposed to welding fumes, especially for long periods of time, you should look at getting a PAPR helmet.
A Powered Air Purifying Respirator (PAPR) is a battery-powered, belt-mounted, portable respirator attached inside a sealed helmet.
It does all the work of keeping the welder supplied with fresh, clean air. It filters any welding fumes, gas or other particles out to keep you protected while you work.
PAPR helmets come with an attached hood that slides over the head and can be sealed, so no external air can get in. It’s protective, comfortable, and maximises the effect of the filtered air.
The powered respirator means you don’t have to try and fit a normal mask under your helmet as well. Instead, a breathing hose connects from the back of the helmet into the filter. The air is filtered and then sent up to the helmet, keeping the entire helmet filled with clean air.
The UNIMIG PAPR helmet also comes with all the other features that make our helmets top of the line. You don’t have to sacrifice any of the other great features to stay safe.
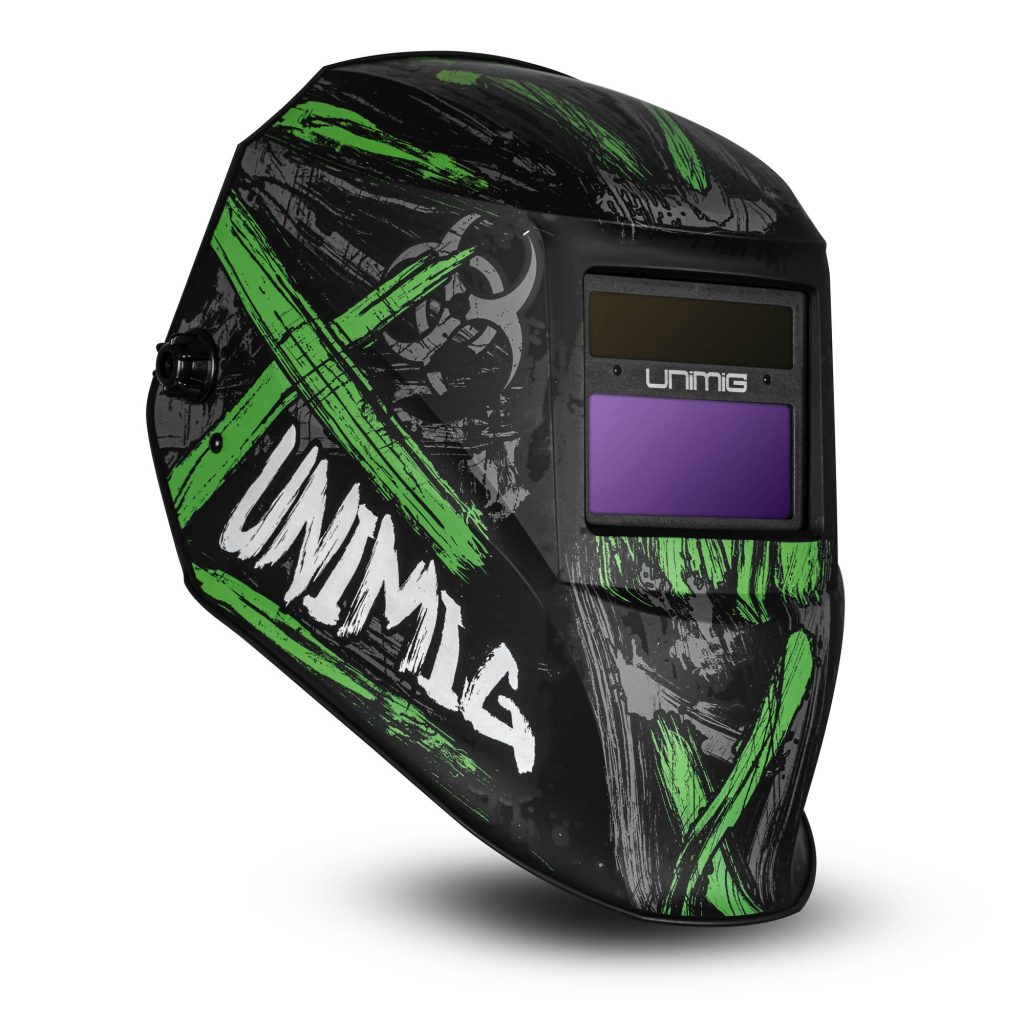
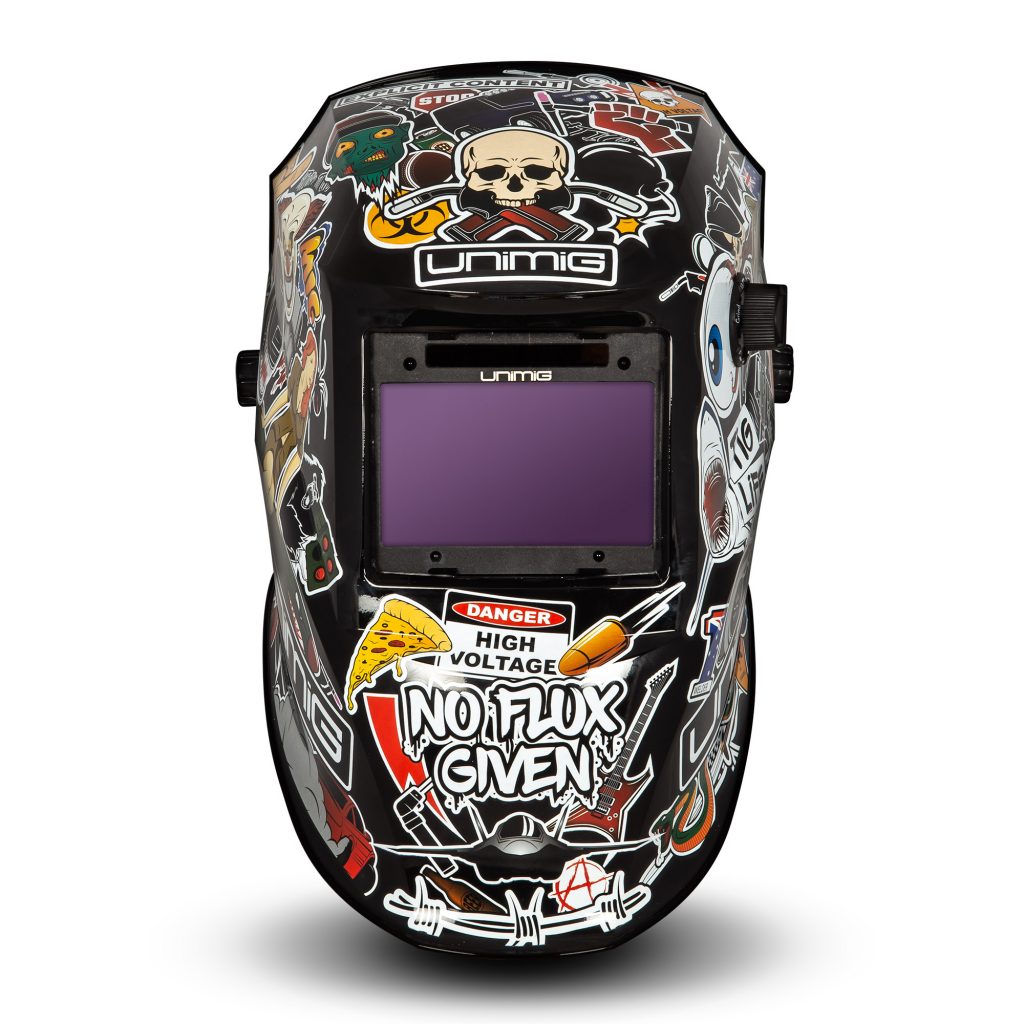
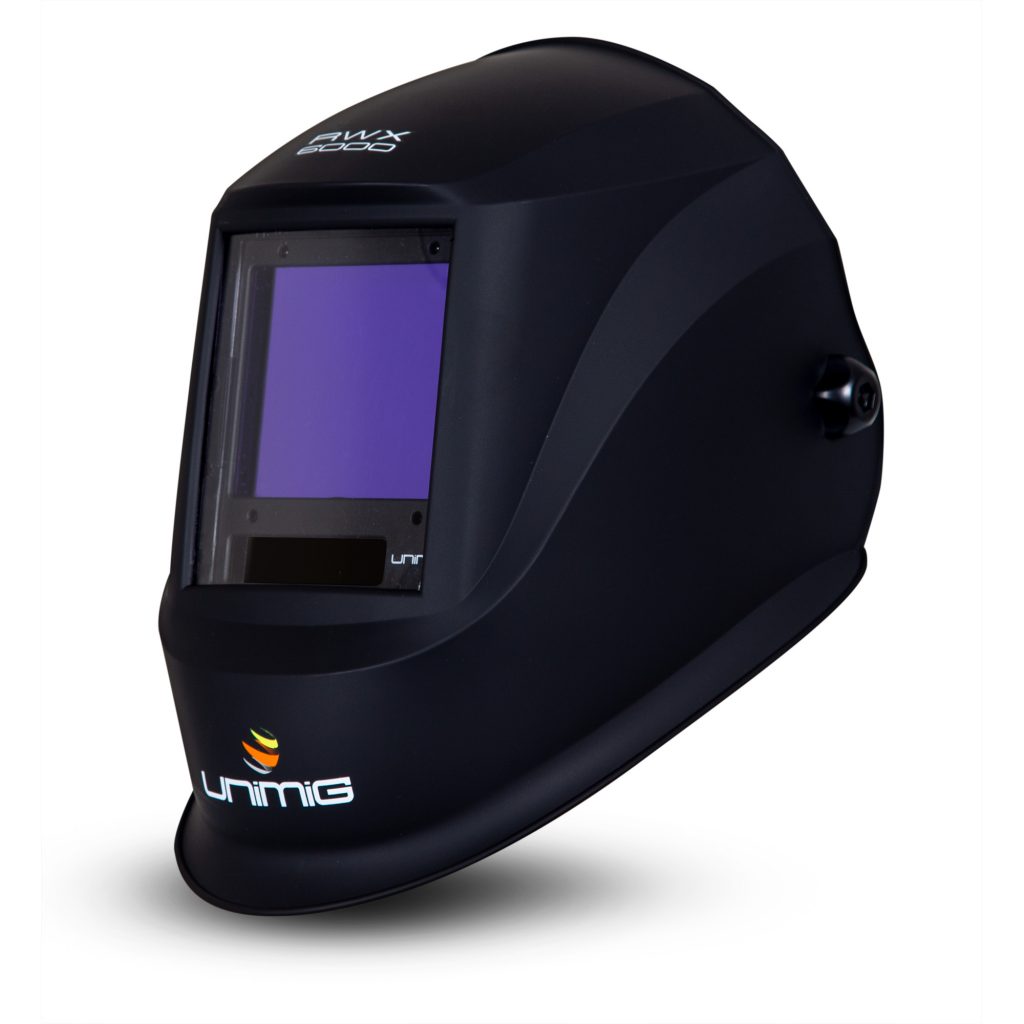
UNIMIG Helmets
Every UNIMIG helmet is suitable for MIG, TIG, stick, plasma and grinding.
Each helmet comes with the following settings:
- Weld/Grind – weld mode or grind mode
- Shade – select the shade needed for your type of weld
- Sensitivity – how sensitive to the light your helmet is
- Delay – how quickly the helmet goes from dark to
Our entry-to-mid-level helmets come with an optical clarity rating of 1/1/1/2 and a shade range of #9-#13.
Our professional-grade helmets come with an optical clarity rating of 1/1/1/1 and a #5-#13 shade range. They also come with three memory profile buttons on the inside. No matter which helmet you get, just make sure that it’s going to protect your eyes no matter what kind of welding you have planned.