How to Weld Thin Metal to Thick Metal
March 7, 2022
Not every welding project you do is going to have perfectly even metal sizes. Sometimes you might need to weld thinner pieces of metal to thick pieces, like side pieces on a main framework (for example, stair rails).
The problem is that you need enough heat to melt into the thicker piece, but not so much heat that you burn straight through the thin piece.
Thankfully, welding different sized metals to each other isn’t as difficult as it seems, so long as you use the right technique.
Setting Up the Machine
Getting your settings right is the first step to welding different sized metals together. To start, you’ll want to set your machine to the recommended settings for the thicker piece.
For example, if you were stick welding a 3mm plate to an 8mm plate, you’d set your machine to 110A. 110 amps is the lower end of the range that we recommend for a stick fillet weld on an 8mm plate.
You can also choose a thinner filler metal than you would normally use. Sticking with our stick welding example, you’d want a 2.6mm rod rather than the normal 3.2mm that’s used on 8mm. That way, you’ve got less metal to melt, and it’ll melt faster on the lower amp range.
So, if everything is set up for the thicker metal piece, how do you avoid burning through the thinner part? That’s where your technique comes in.
Welding the Metal
Whether you’re tacking your joint or putting down the full weld, you would normally focus your arc on the root of the joint. That way, both sides get equal heat and melt evenly.
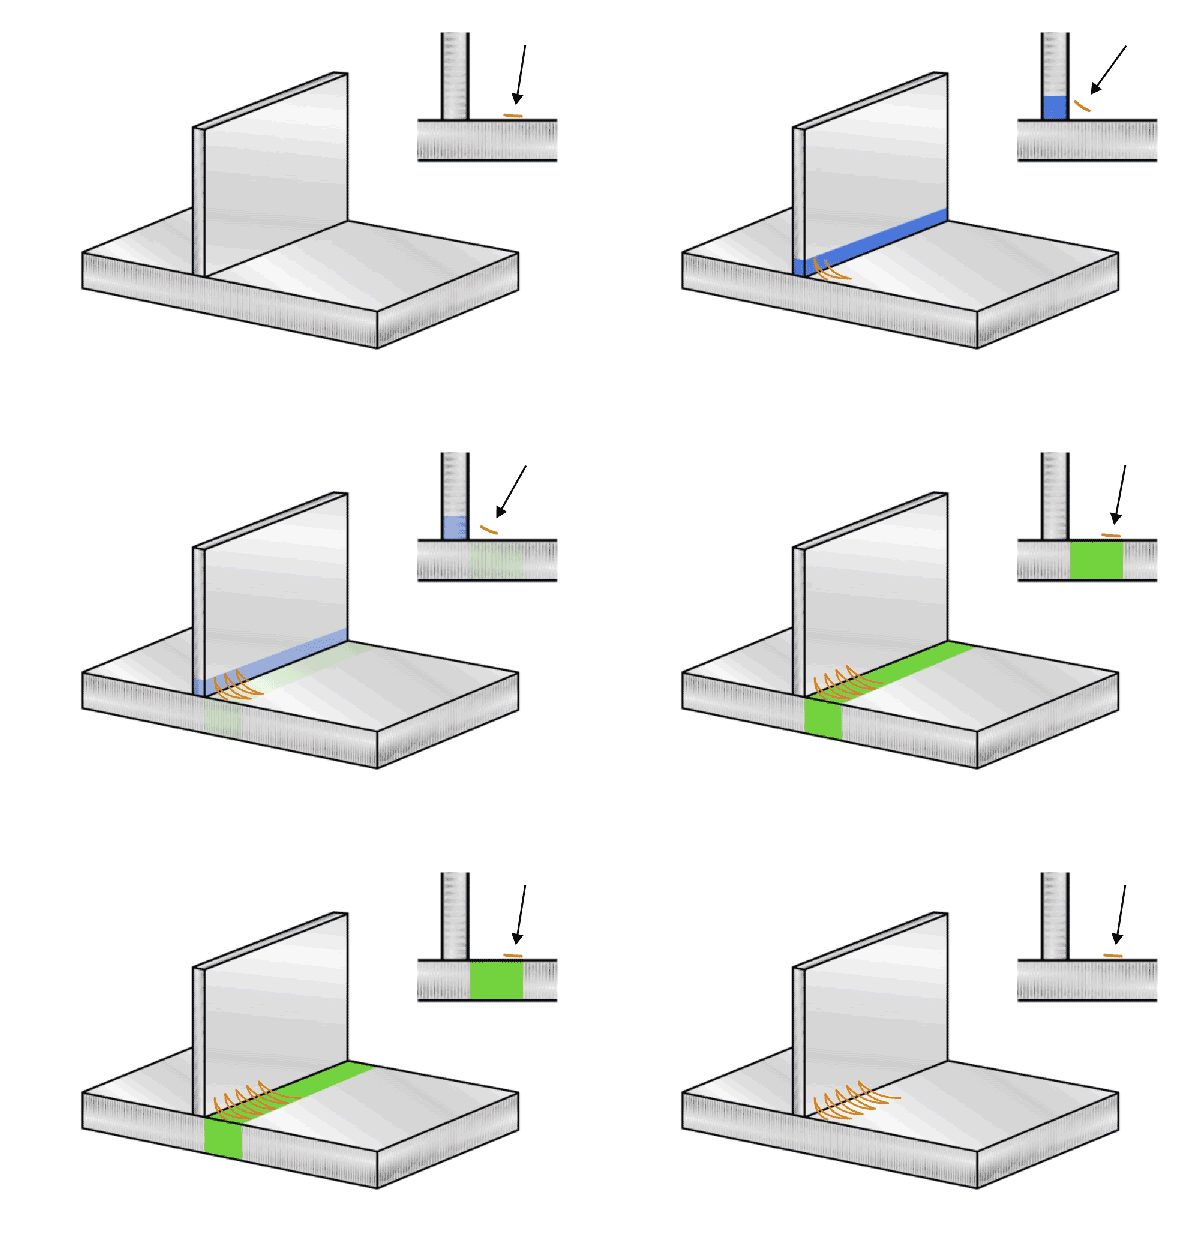
However, when you’re working with metal that’s different sizes, you want to adjust your arc so that it’s focused on the thicker piece of metal.

Keeping the Weld Cool
If you find that the weld is starting to get too hot, and you’re worried about the thin piece, move faster. The further into the weld you get, the more heat your base metals will have absorbed, so if you’re MIG or stick welding, speed up your torch movement.
If you’re TIG welding, you can speed your weld up, or you can add more filler. The cooler filler rod will help bring the heat levels down in the joint. You can add more metal with each dab or dab more frequently to achieve this.
The length of your arc will affect how much heat is being transferred as well. The longer the arc, the more volts, and therefore the hotter it is. That’s why maintaining a tight arc (3mm is ideal) is the best way to keep the heat down. This doesn’t apply to MIG welding, as the voltage is fixed to whatever settings you choose.
Heatsinks
If you’re worried about burning through the thinner metal, the other thing you can do is add a heatsink. Aluminium and copper are the most common metals used for heatsinks because they have great thermal conductivity. They help suck the heat out of the weld, keeping the actual join cooler.
Plus, because they’re a dissimilar metal to the one you’re welding, they don’t stick and can be removed easily. (Don’t use an aluminium backing plate on an aluminium weld. You’ll need copper.)
Accidentally Burning Through
If you’ve accidentally burnt a hole in the metal, don’t worry. There are a couple of ways you can fill it in, depending on the type of welding.
MIG
If you’re MIG welding, you’ll need to pause the weld, and readjust your settings. Changing them to be running slightly cooler will allow you to fill the hole in with a series of quick spot welds. Zap, zap, zap until there’s no more hole, and then you can continue the weld. It would be a good idea to leave your settings cooler, to avoid blowing any more holes in your thinner metal.
Stick
When stick welding, you’ll also need to pause your weld. Before you plug the hole, make sure to remove any slag around it. You don’t want to trap any of the flux coating while filling the gap. Like with MIG, it’s a good idea to slightly lower your settings before restarting so you don’t have the same problem.
TIG
Filling burn through holes while TIG welding is a bit easier. If you can see a hole opening up in the weld, you don’t necessarily have to stop. Instead, you can quickly add extra filler metal into the weld pool to close it, then continue as normal.
Quick tip: ‘adding extra filler’ means rather than a small dab, you want to shove a decent amount of the rod into the puddle. There needs to be enough metal deposited to actually fill the hole that’s forming.
Otherwise, you can also pause a TIG weld and readjust the settings.
For more on how to fix holes in your weld, check out our post on it here.
That’s all there is to welding thick and thin metal together. Just keep the focus of your arc on the thicker piece, and you can weld your thin and thick pieces together the same way you’d weld metal of the same size. It’s that simple.