6 Easy Tips & Tricks for Improving Your TIG Weld
April 6, 2021
TIG welding is the hardest to master, and the main reason for that is there’s a lot going on all at once. But, once you’ve got the hang of it, it’s one of the most versatile welding options in terms of which metals you can work on, and it allows you to weld thinner material than with MIG or stick.
1. Clean your metal
When it comes to how clean your workpiece is, TIG is the most unforgiving. Any kind of rust, paint, oil or otherwise that hasn’t been wiped or ground off your base metal can seriously impact your weld, and not in a good way.
Go over your workpiece with a grinder or a wire brush to get rid of almost everything that is going to cause issues. Then you can give your material a good wipe down with acetone or a low VOC cleaner.
Don’t use a heavy-duty cleaner; even after it has dried, residue remains on the surface of your metal. This residue will give you a dirty weld, and you’re probably going to create mustard gas as you try and burn through it.
2. Use the right tungsten & prep
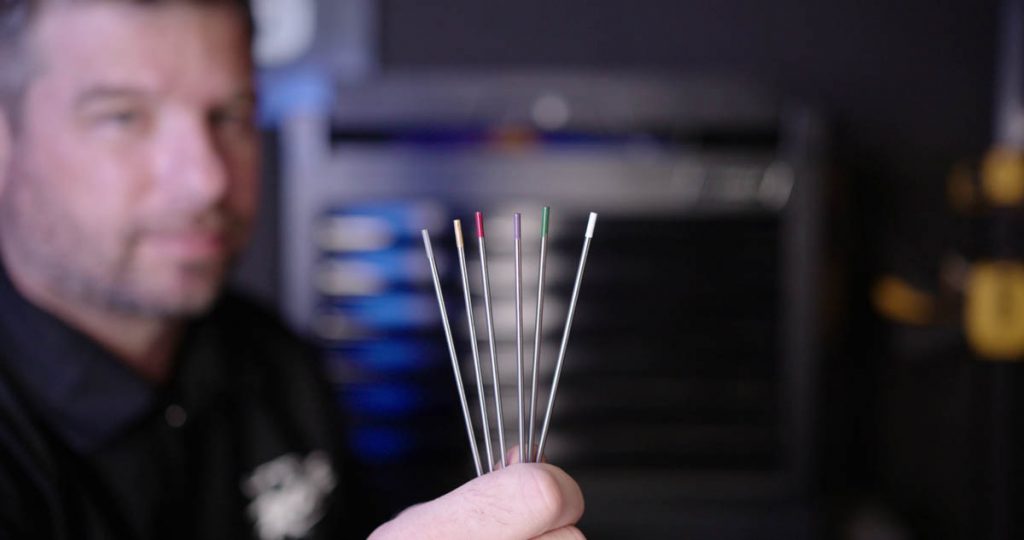
Not every tungsten is suited to every metal, so it’s important to pick a tungsten that will work well with the base metal. For example, a gold-tipped Lanthanated tungsten is a great all-rounder, but if you were working with only aluminium, a white-tipped Zirconiated tungsten would be better.

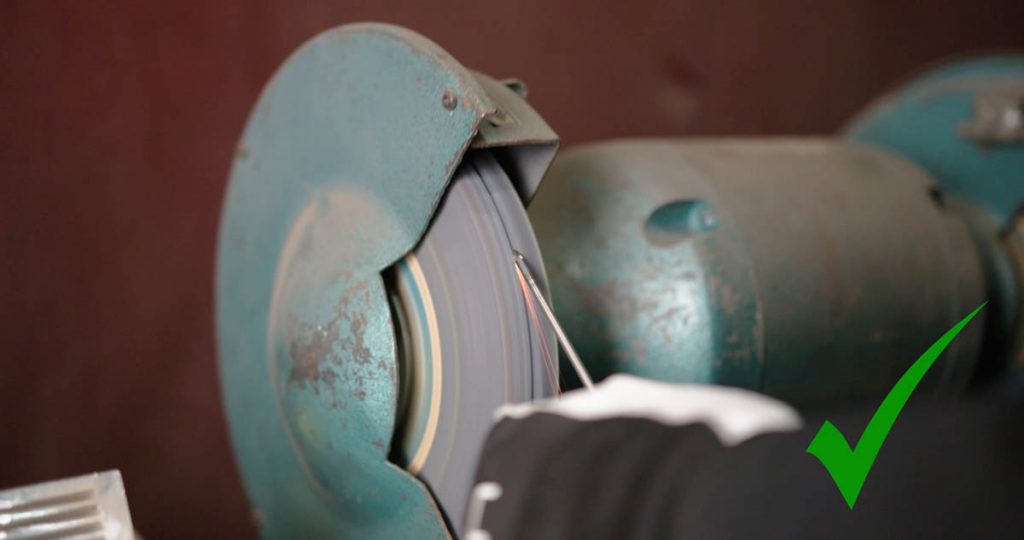
The other thing that will improve your weld is how you prepare your chosen tungsten. You almost always want to grind your tungsten to a point, and you always want to grind lengthways.
If you grind your tungsten in a horizontal position to the wheel, you end up including more grooves across the top, which the arc has to navigate. Grinding lengthways, so the grain runs in the same direction as the whole tungsten, will give you a more focused arc.
Keeping a separate, dedicated tungsten grinder (preferably with a diamond wheel) will also help to keep your tungstens from picking up contaminants from anything – like steel or stainless shavings – that are still present.

3. Feeding your filler
A great way to improve your TIG is by practising your wire feeding. There’s a couple of ways to add filler, but one good technique is to hold it like a pen or pencil.
Rest the wire on top of the middle finger, pinched between forefinger and thumb (with the thumb further back). Push it through by bending back the forefinger and middle finger down the rod and then pushing them forward, dragging the filler metal with them, using the thumb as a guide or to help if necessary.
You can make your feeding a lot easier if you don’t hold too far up the rod. Having roughly 10cm of rod out in front of your fingers is ideal; otherwise, you could lose control as it wobbles around.
To get an even looking weld, it’s also good to try and dab an equal amount of filler into the pool each time. A good rule of thumb for adding filler wire to your weld pool is to dab the width of your rod. If you have 1.6mm thick filler, you want to add roughly 1.5mm into the pool.
4. Don’t melt the filler rod directly
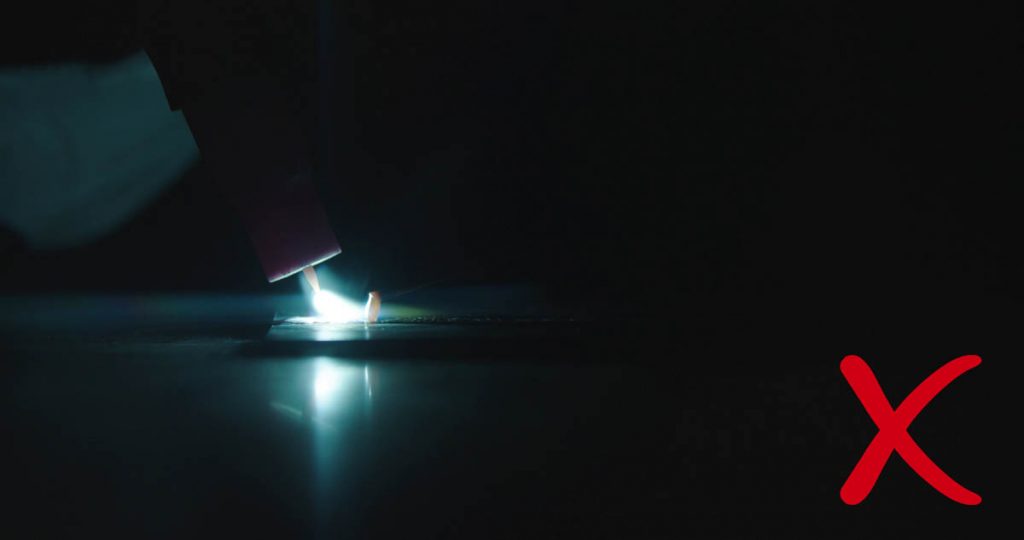
By ‘directly’ melting the filler, you’re using the heat of the tungsten or the arc to melt the filler metal. Your filler rod shouldn’t be balling or ballooning at the tip.
Using the arc to melt your metal won’t give very good fusion, as the metal often ends up sitting on top of the workpiece rather than actually building up the joint. You want to be pushing your filler into the weld pool, as it’s the hot pool that then melts it.

5. Keep your tungsten clean
Dipping is natural. Whether you’ve gotten too low and put your tungsten into the weld pool or you got too close with the filler rod and touched it against the tungsten, everyone does it. The most important thing is to make sure you clean it as soon as it happens.
If you’ve dipped your tungsten, you’ll need to pause your weld and regrind it to remove the contaminants. Unfortunately, once it’s been dipped, you can’t just burn that extra metal off, and if you do, it’s going straight into your weld, where it’ll cause issues.
If you don’t want to stop what you’re doing to regrind your tungsten, having some pre-prepared tungstens on the side makes it easy to swap tungstens on the go. Then, when you’ve finished your weld, you can regrind any that need cleaning in one go.
6. To gas or not to gas?
Getting ample gas coverage for your weld makes a world of difference to the final result, so why not just crank it up all the way? Wouldn’t that be best? No, it wouldn’t. Having too much gas is actually bad.
If you’ve got your gas flow all the way up, it creates turbulence, which destabilises your arc. Not to mention, pouring unnecessary gas over your weld is wasteful, and you’ll need to replace your cylinders more often.
Stick to the recommended gas flow rates; we recommended 8-12L/m, and if you do need more, just go up a little bit at a time.